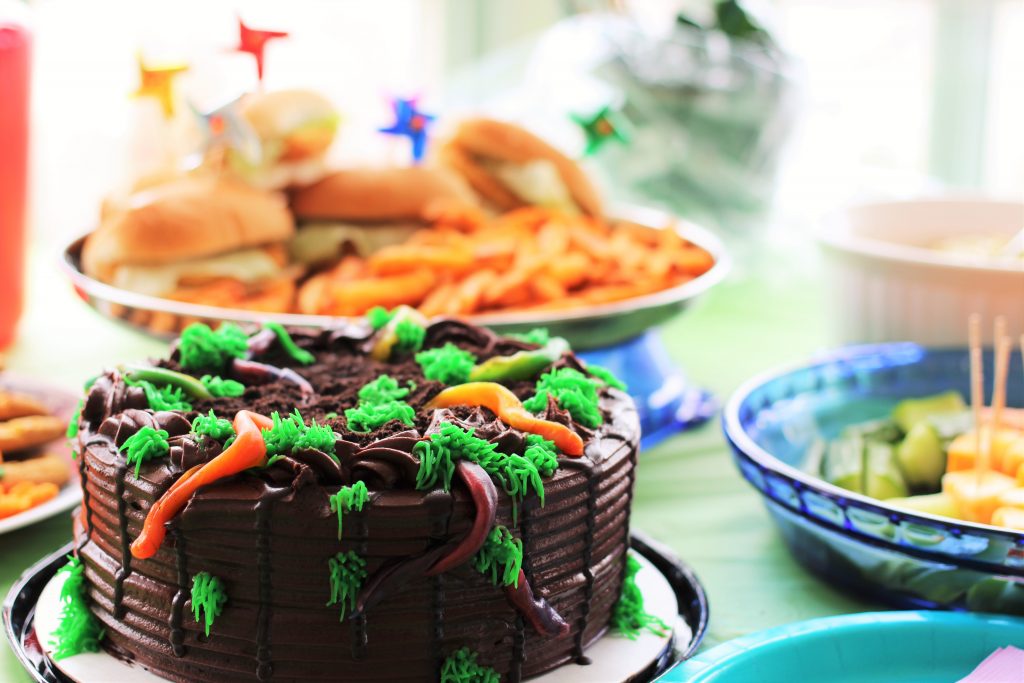
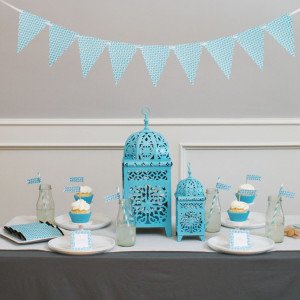
Spring Garden Party
By Contributing Writer, Sobia Hussain Despite the recent fluctuations in temperatures, spring is officially here in North America. It represents life, renewal, growth, and warmth–something…
By Contributing Writer, Sobia Hussain Despite the recent fluctuations in temperatures, spring is officially here in North America. It represents life, renewal, growth, and warmth–something…
Winter came a little too late to many parts of North America this year. But when it came, it came with a big bang…and lots…
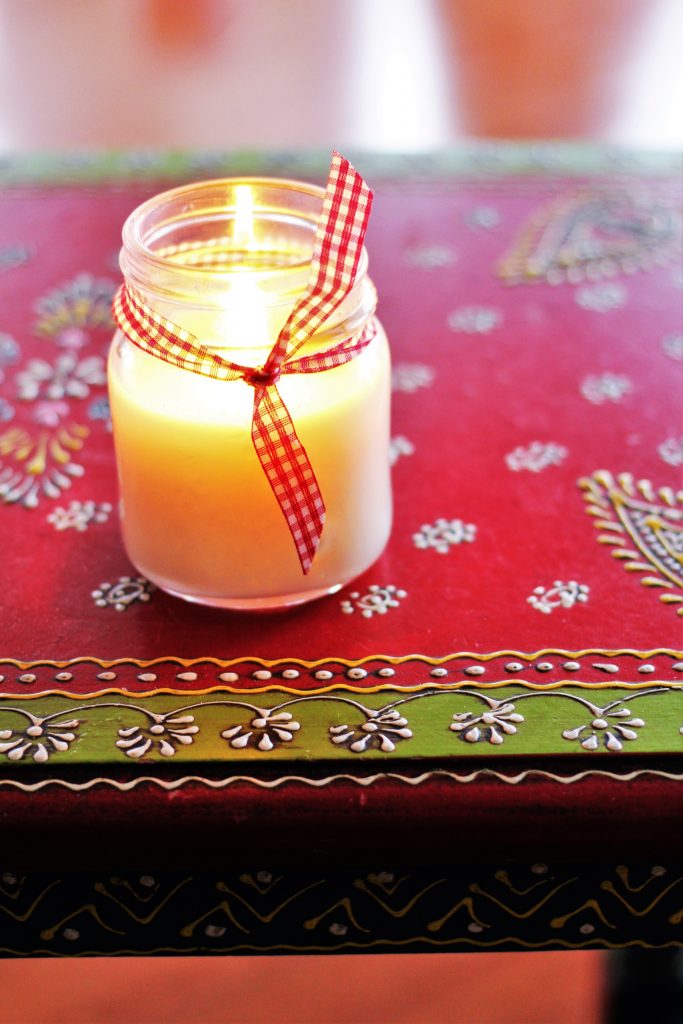
It’s the little things in life which can bring the greatest smiles. It gives us a chance to pause and appreciate hidden gems in our…

It’s always exciting to receive exotic gifts from faraway lands I’ll probably never have a chance to visit. I felt that way when one of…
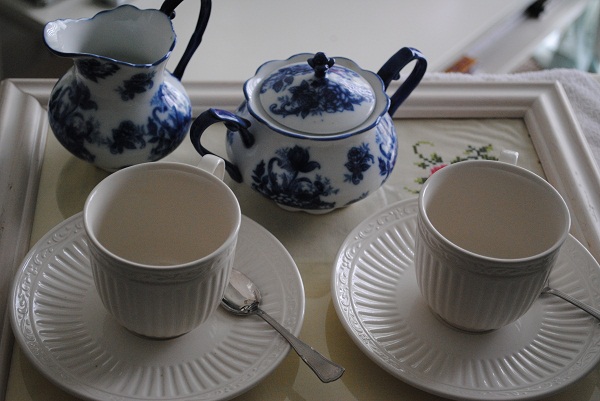
There’s a special place in my heart for vintage trinkets and all things handmade. Much of it has to do with the memories it holds.…
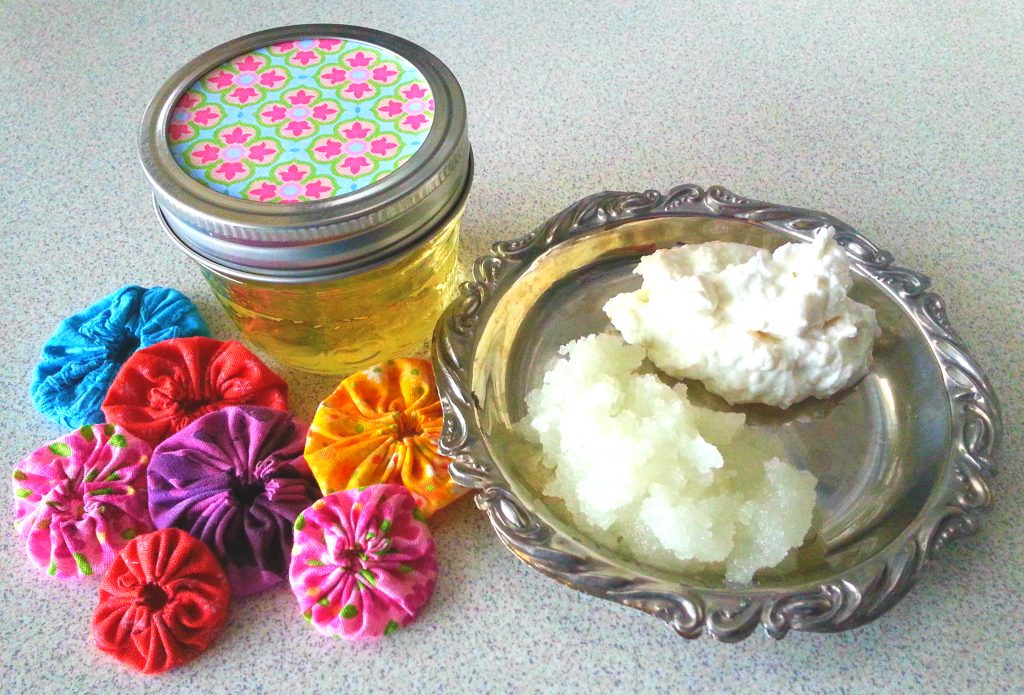
Sobia Hussain, owner of The Olive Tree Soap Company, wows us again with these wonderful recipes you will want to make at home just because…

This wonderful winter craft is brought to us by Sobia Hussain of The Olive Tree Soap Company. Remember this amazing giveaway she offered recently? Well,…
Ramadan is a special time of reflection as one deepens their self-control, spirituality, and compassion for those less fortunate. Take some time this year to…
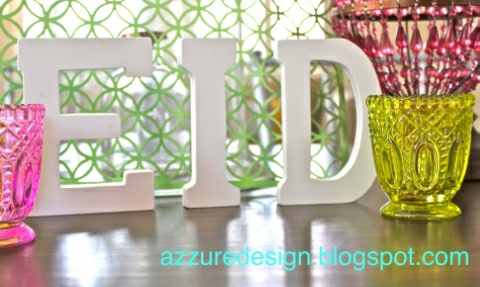
Saima Nasim runs the beautiful design blog, Azzure. Have you seen it? It caught my attention because of her gorgeous photos and smart suggestions for…

I asked Creative Designer Kung Pik Liu over at Sakina Design to share something special with us this Ramadan to make our homes feel festive,…

Nearly ten years ago when I began speaking at local libraries, churches and schools about Islam, Muslims, Ramadan, and/or ‘Eid, I would carry a bag…
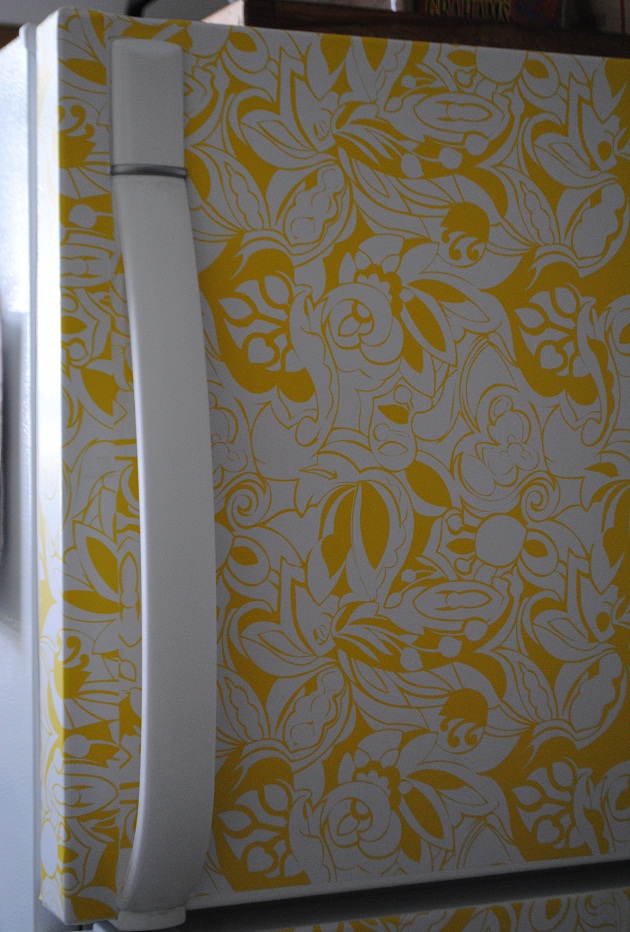
I finally had some free time on my hands to work on a few projects on my ‘someday’ list. Since moving recently, I really wanted…
Although I haven’t talked about it much on this blog, I really am a lover of home made crafts, especially those where I can re-purpose things I…
