Cucumber Yogurt Sauce
I have no idea why I’ve been craving yogurt sauces lately. It’s not even the yogurt I’ve been craving, it’s more so the fresh herbs…
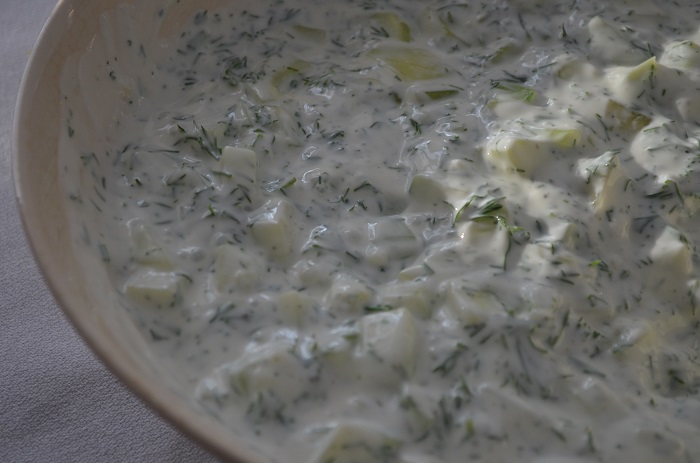
I have no idea why I’ve been craving yogurt sauces lately. It’s not even the yogurt I’ve been craving, it’s more so the fresh herbs…

If you’ve ever been to an Indian restaurant that has a clay oven, you may have tried their tandoori. It’s typically made by adding the…

If you’ve never tasted keema, or that wonderfully spiced Indian-style ground beef, you’re totally missing out on some great flavor. Surely every family makes it…
I’ve been cooking with Saffron Road products for a long time now and I really do enjoy them. They actually spoil me- made with high…

One of the very first Indian dishes I ever tried were samosas and their corresponding chutneys- one sweet sauce made with tamarind and the other…
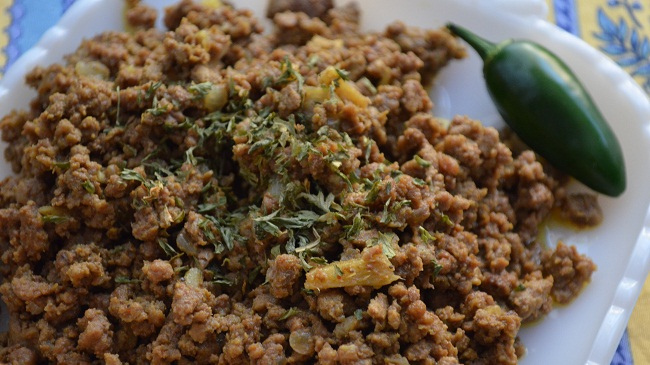
The first time I ever had Keema (that wonderful Indian-spiced ground beef dish) was during one of my very first Suhoor (pre-dawn) meals with family…

When I saw Saffron Road’s new Tikka Masala sauce already made in their convenient new packets of simmer sauces, I knew I wanted to cook…

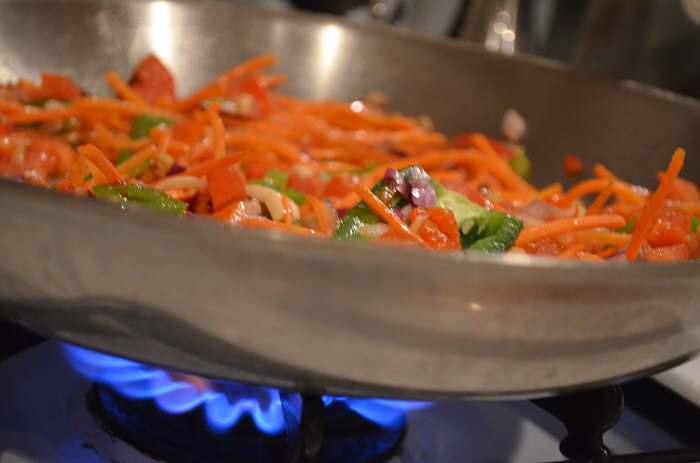
Whether you’re planning an ‘Eid celebration at home or bringing a dish to your host, you’ll want some recipe ideas for appetizers that are easy…

Contrary to what might be popular belief, not every Muslim family is a large one. There are people all over the world, especially in the…
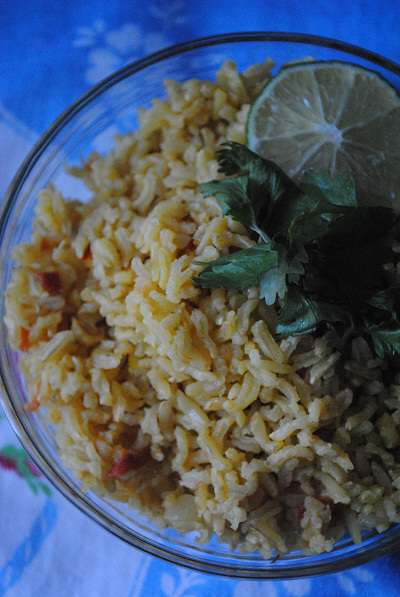
I love the smell of basmati rice. There isn’t any other rice quite like it. When you walk into the home of someone cooking it,…
This recipe was given to me by a dear college friend, a Malaysian woman smarter than just about anyone I know. I think she was…
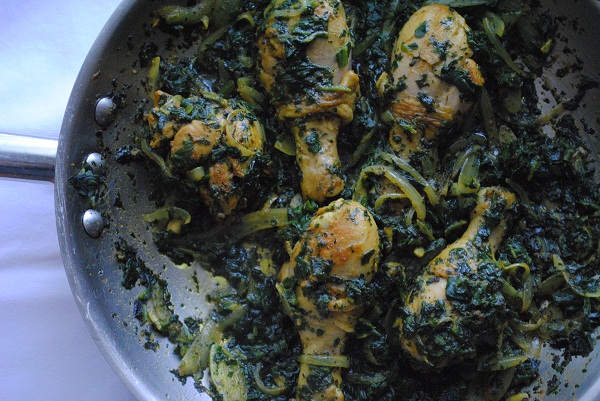
If you’re looking for a quick and easy dish that is bursting with flavor, check out my recipe for Turmeric-Ginger Chicken Saute, which appeared in Cooking Light Magazine…
