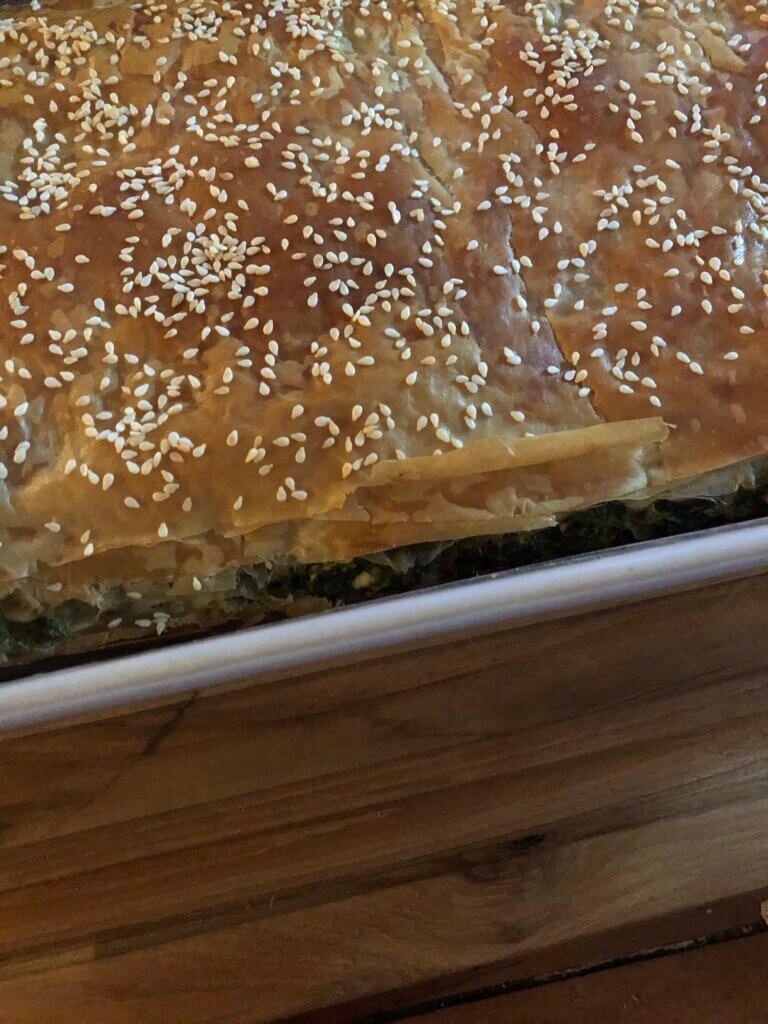
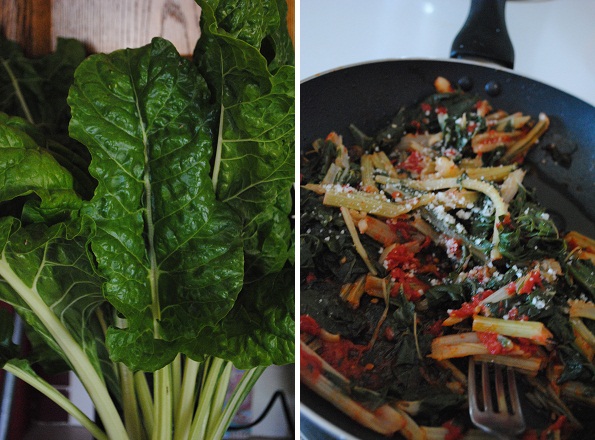
AEGEAN GREENS PIE
I now understand that God puts dreams into our minds for a reason. I never looked at it that way. I didn’t feel entitled to…
I now understand that God puts dreams into our minds for a reason. I never looked at it that way. I didn’t feel entitled to…
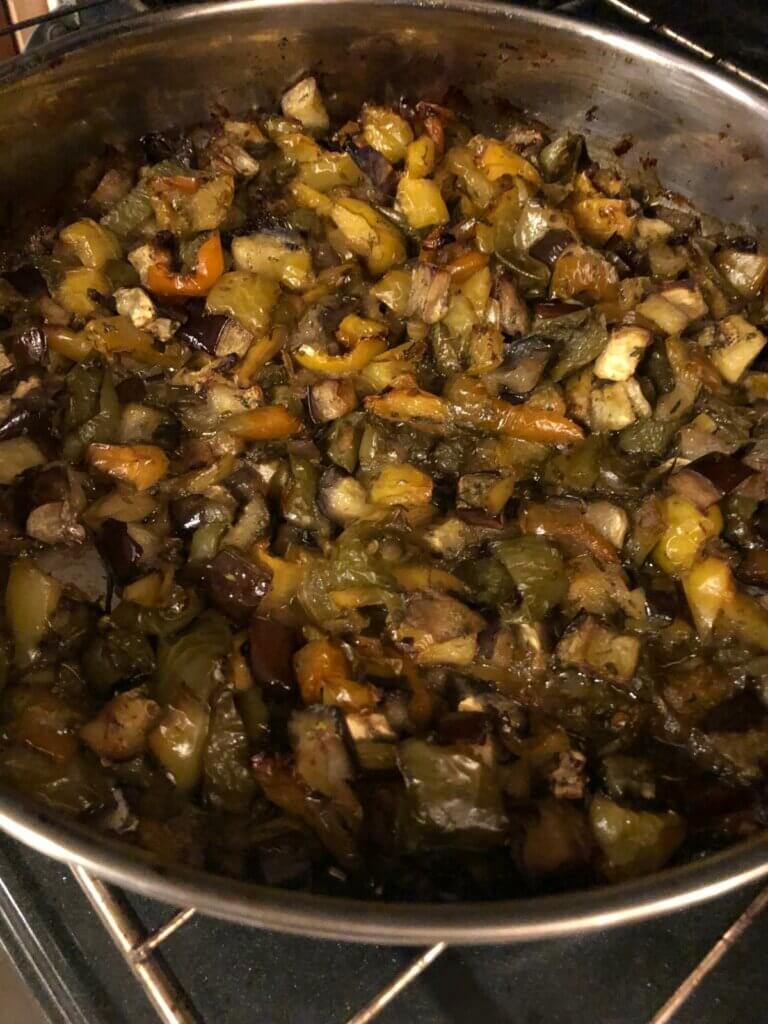
I love eggplant and I love peppers, but on a day when I’m in a huge hurry and don’t have time to fry the eggplant…
It’s only been the last couple of years since I’ve started cooking with white beans (also known as cannellini beans, great northern beans, and habichuelas blancas in Spanish). I’m…
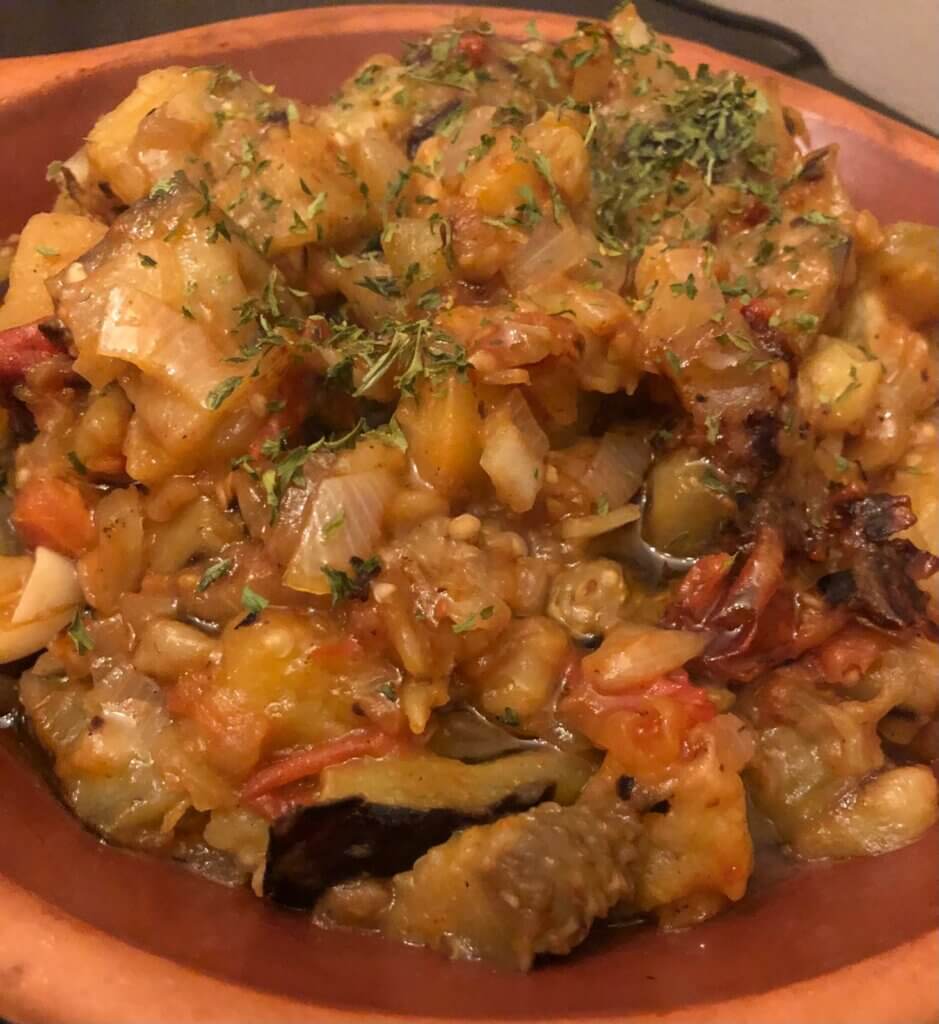
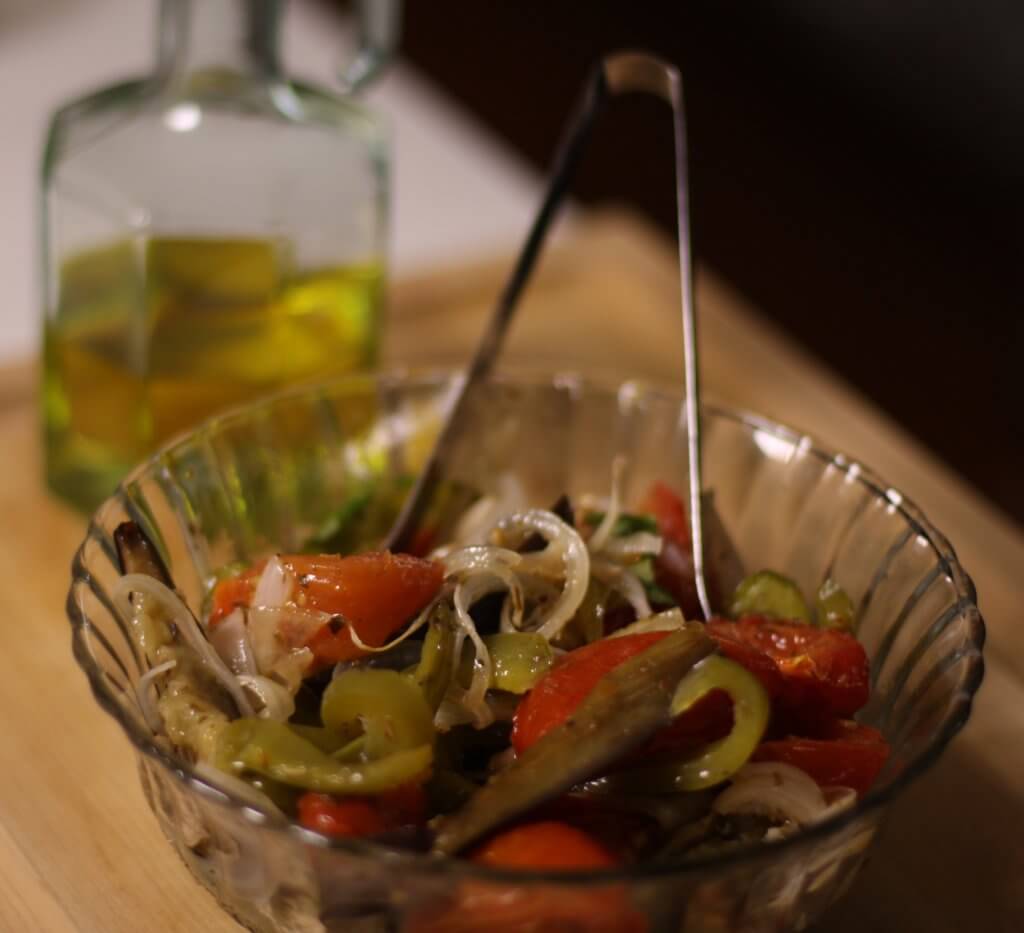
I think eggplant might just be the quintessential Mediterranean vegetable. You find it in every Mediterranean country’s cuisine in such a variety of absolutely delicious…
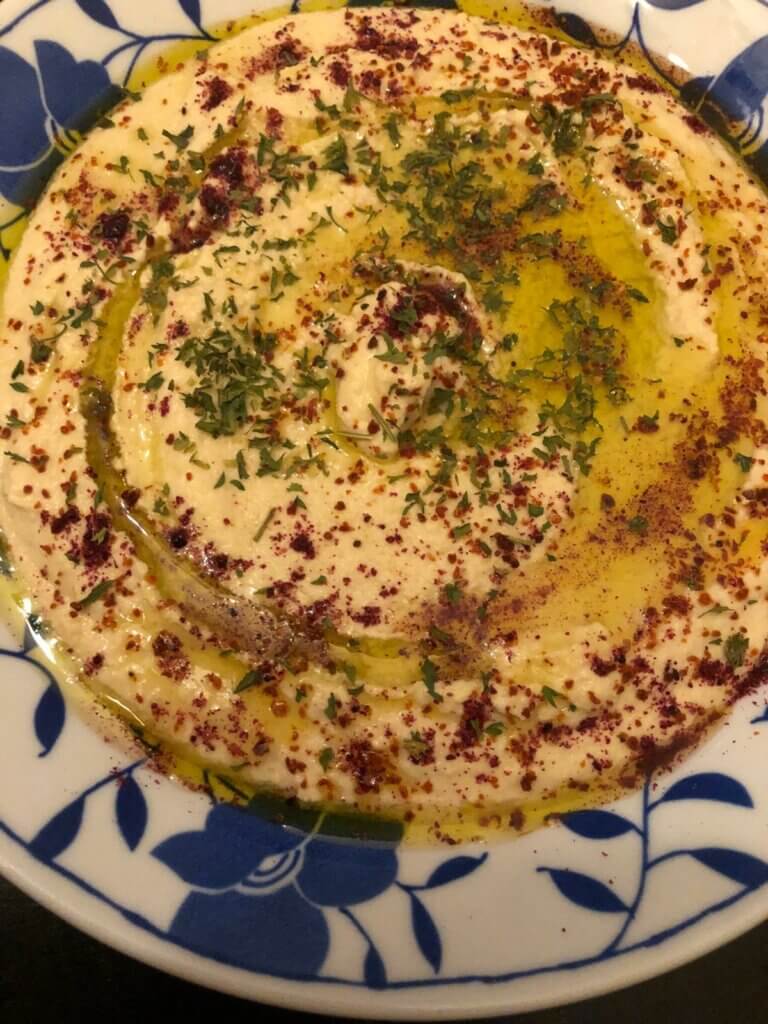
Yesterday was the first Friday of Ramadan, the month of fasting for Muslims around the world. And there are some really delicious Mediterranean dishes shared…
Some links in this post are affiliate. I may earn a commission from purchases made through these link, at no cost to you as a…

Çoban Salata (Cho-ban Suh-la-ta), also known as Turkish Shepherd’s salad is by far the most well-known Turkish salad outside of Turkiye. You’ll find very similar…
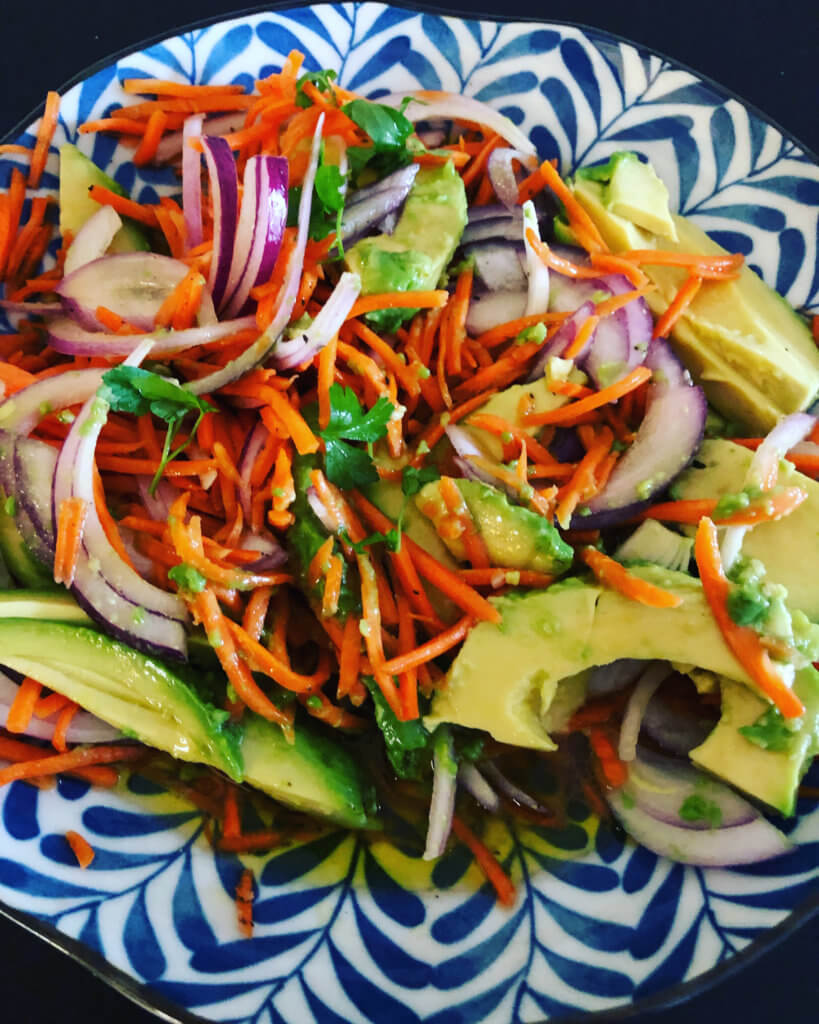
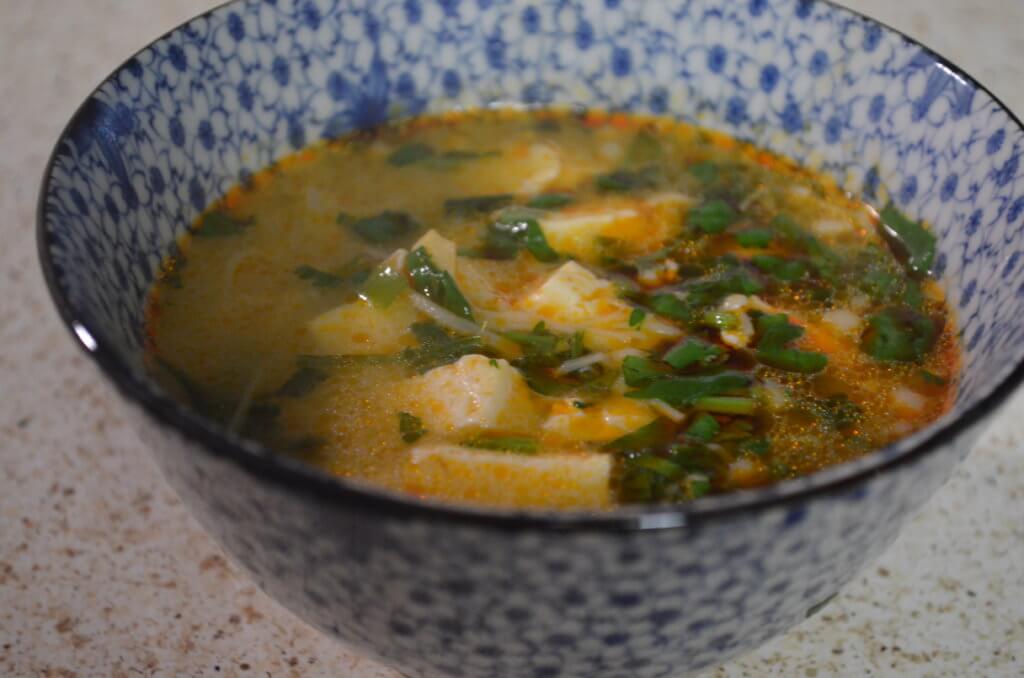
When you have a plethora of vegetables, there are only so many things you can do with them without getting tired of the same old…
I’m always on the lookout for quick and easy recipes for when I entertain- something healthy and that utilizes much of what I already have…
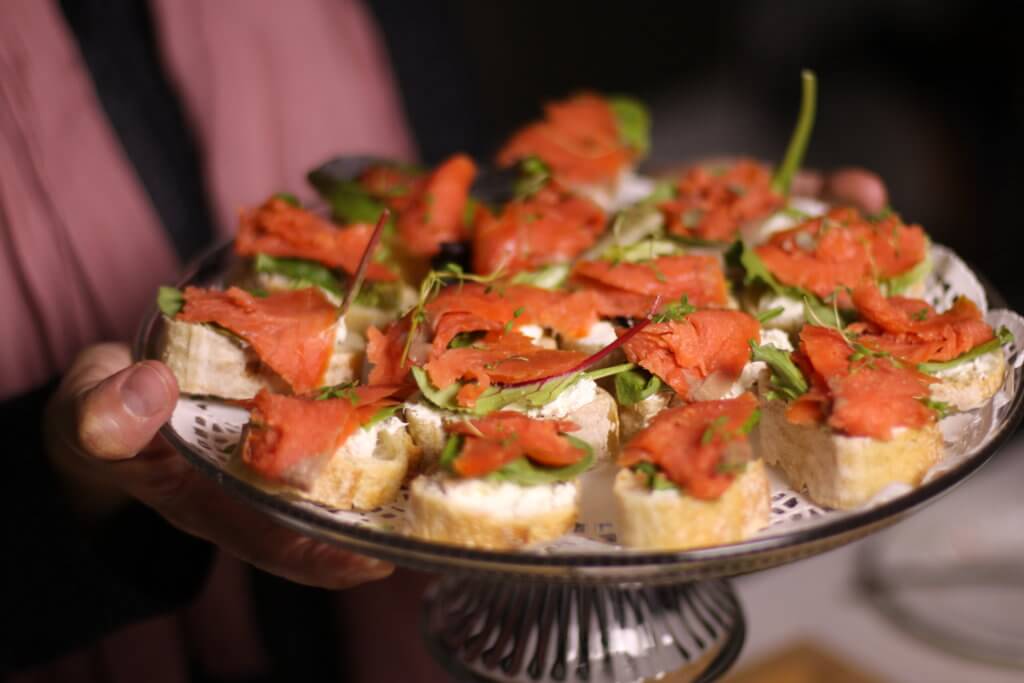
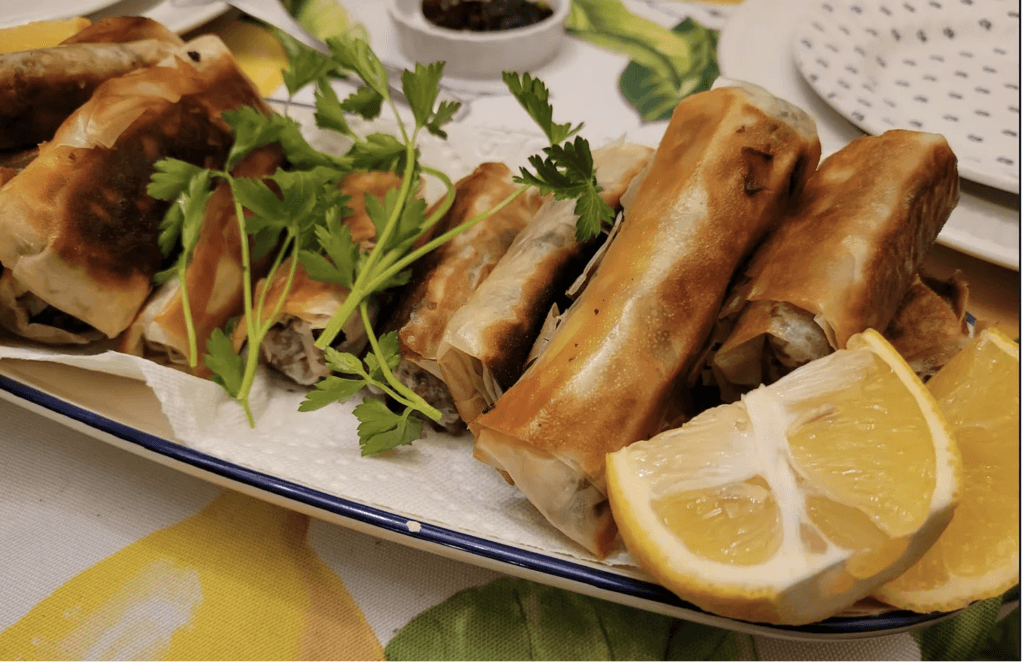
This is such a tasty, elegant and rather quick recipe to make for a party in any season, really. I’ve made them for Ramadan Iftar…
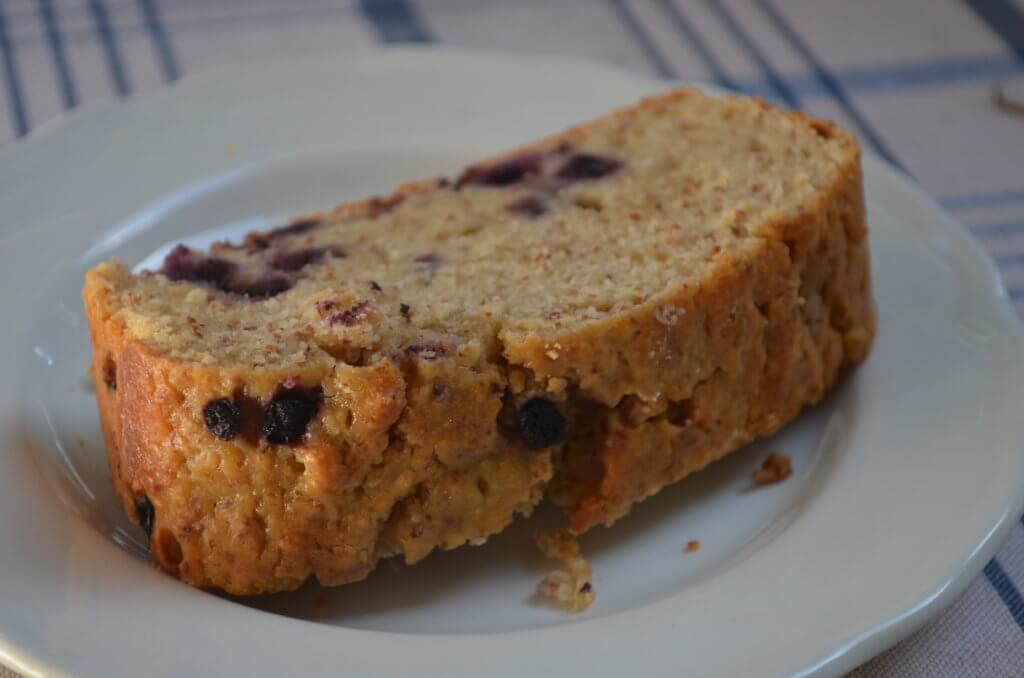
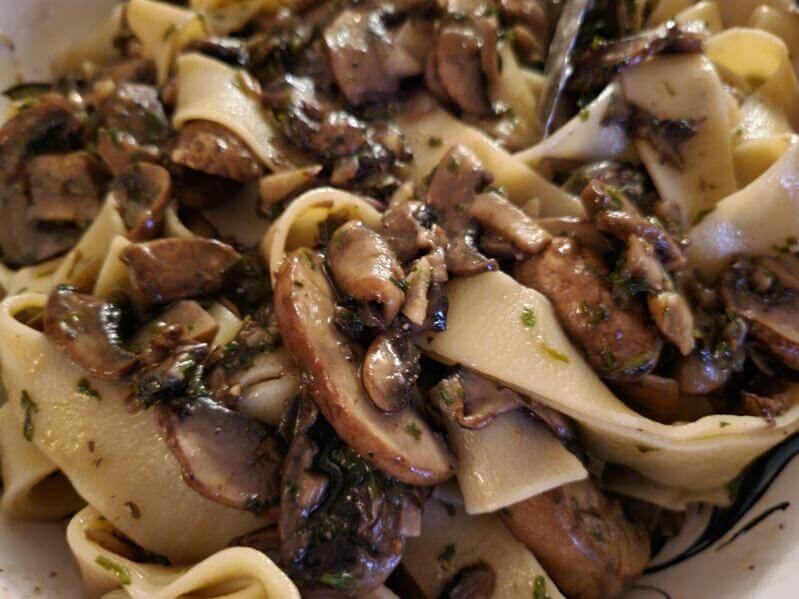
There are days, even in the summer, when I crave to bake something. It’s not because I’m craving something sweet, but it’s because I’m craving…
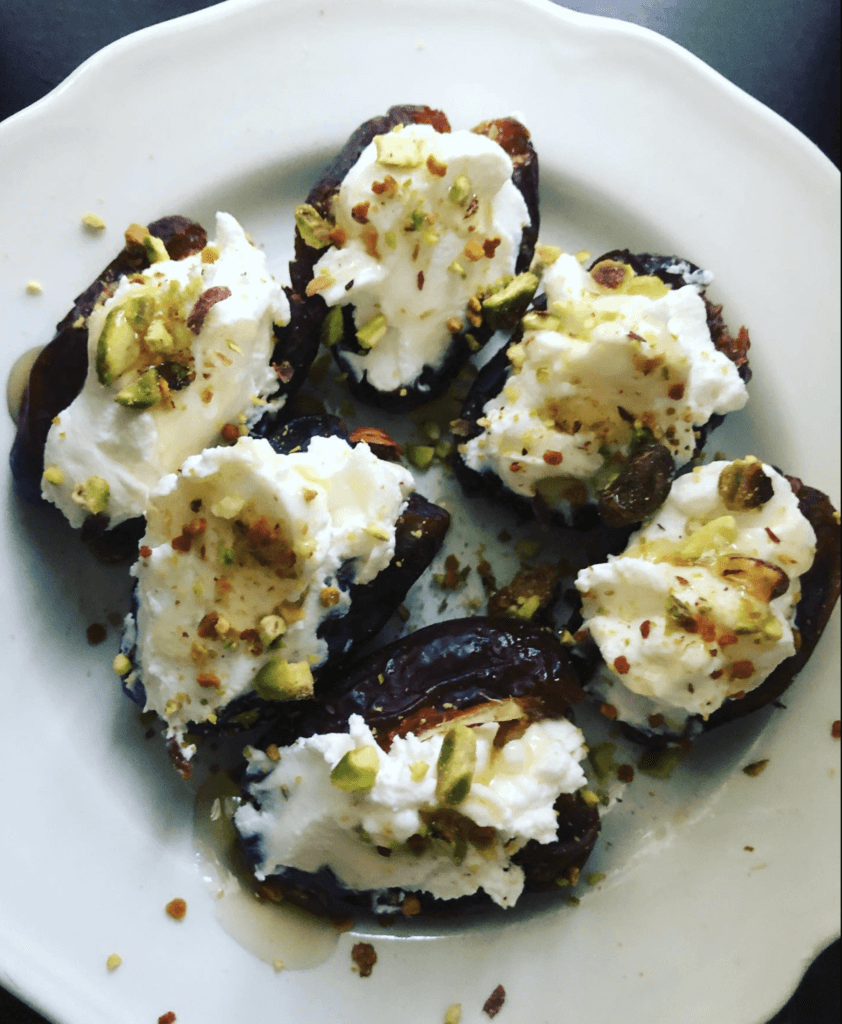
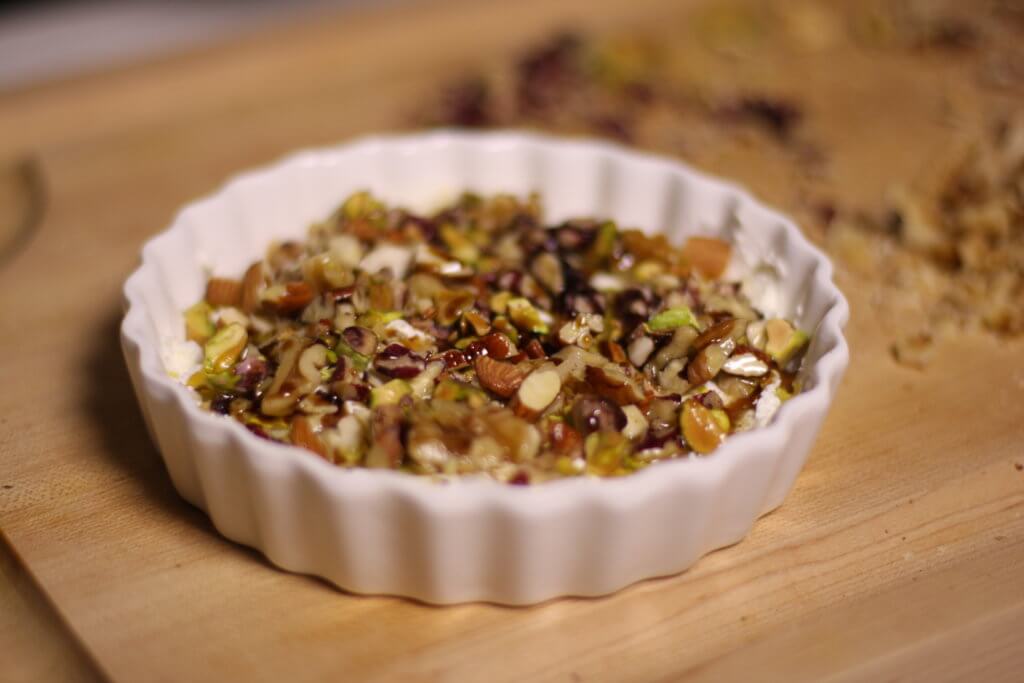
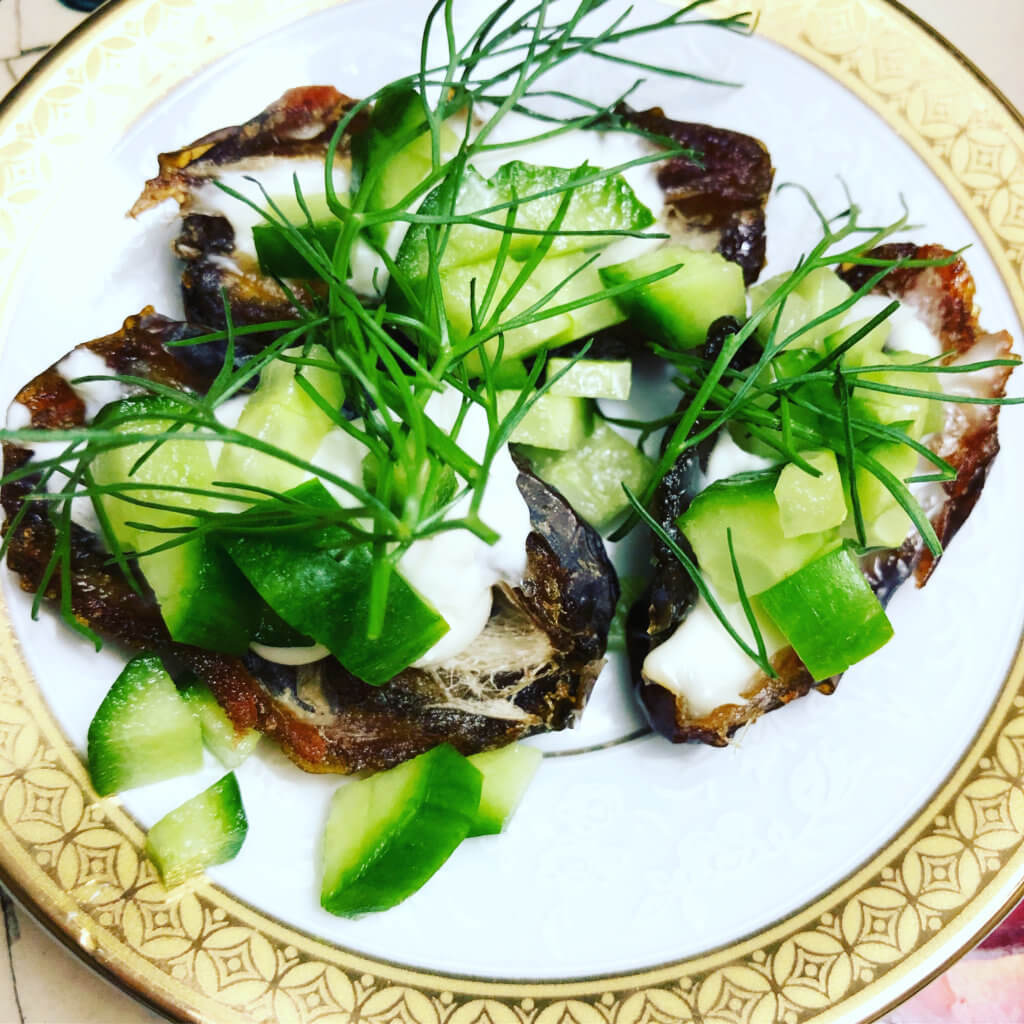
One thing I love to do in Ramadan is to experiment with super simple ways to serve dates for Iftar. This one was inspired by…
As Spring begins to approach us, we look towards new growth, new life and optimistic things coming our way for the whole world inshaAllah. This…

Have you ever come up with a dish that is so tasty you think you invented it yourself, only to find out later that it’s…

Fatteh is this super delicious Middle Eastern dish that at its base has dried or toasted bread and ground meat (lamb or beef) on top…
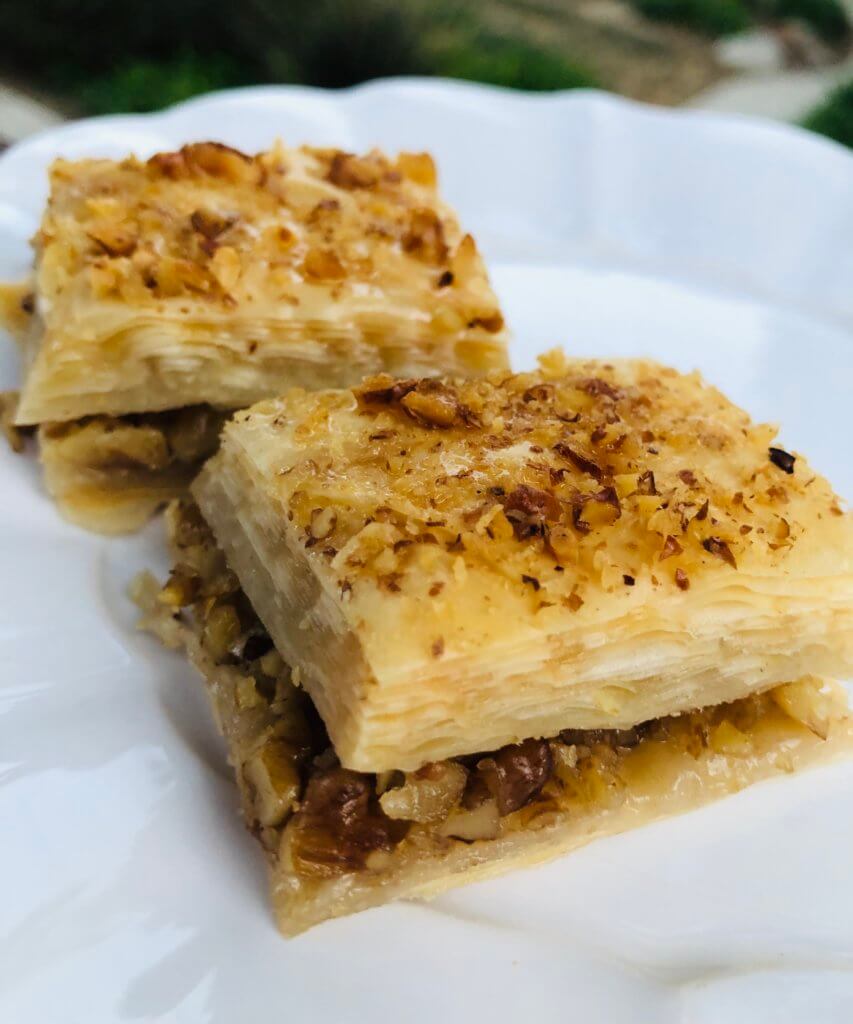
After having lived in Turkey for a good amount of time, I have been enlightened about the art of making baklava. It’s such a dessert…
My dear friend and sister Zainab Ismail is this powerhouse teacher of sunnah and Prophetic foods (the foods that the Prophet Muhammed, peace be upon…
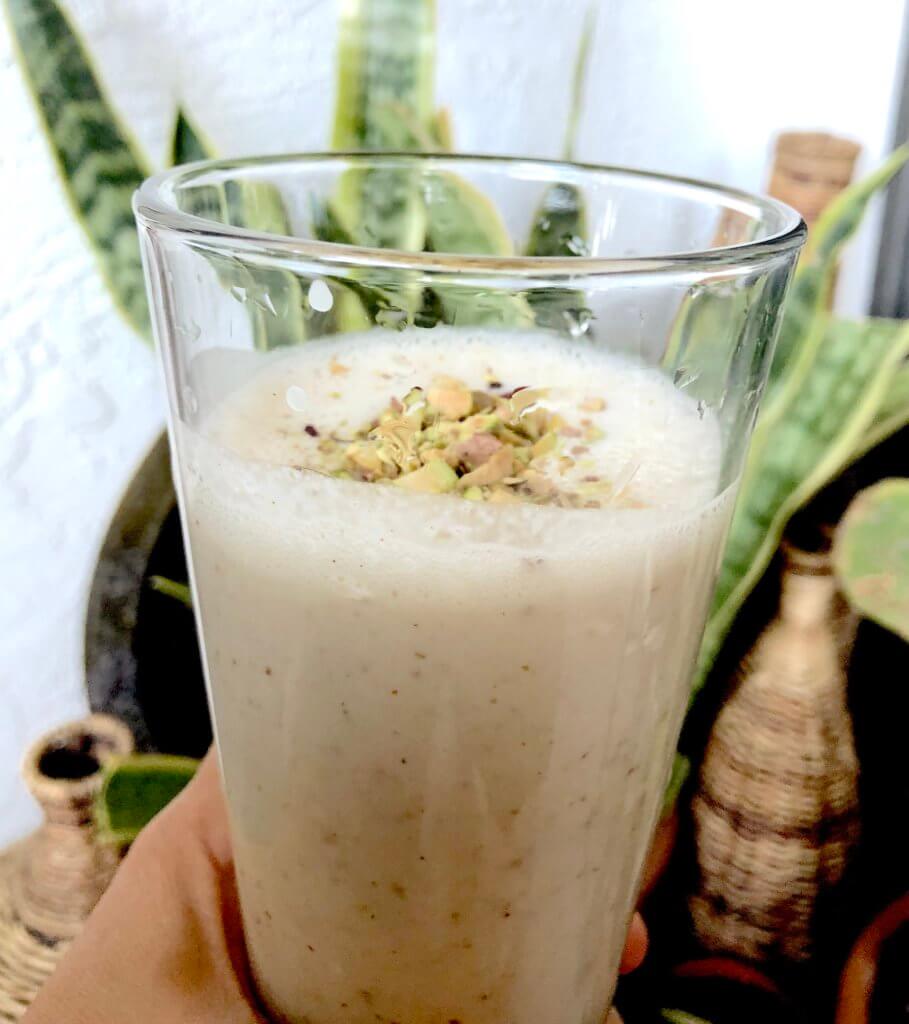
For those of you who saw my video interview with Mustafa Koita, Entrepreneur and Founder of Koita foods (plant-based nut milks), you may have watched…
This recipe seemed to be buried under my nostalgic ode to Ohio in a post I wrote years ago after a memorable trip to visit…
