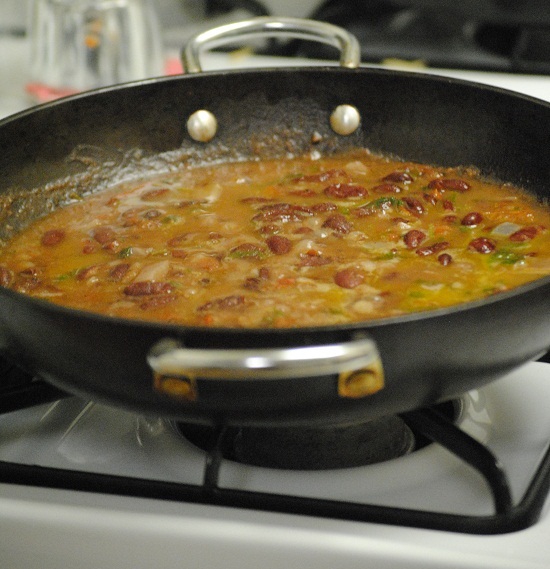
Arroz con Gandules | Puerto Rican Rice with Pigeon Peas
I grew up eating arroz con gandules, that quintessential rice dish that every Puerto Rican family has their own version of making. Most of the time it…
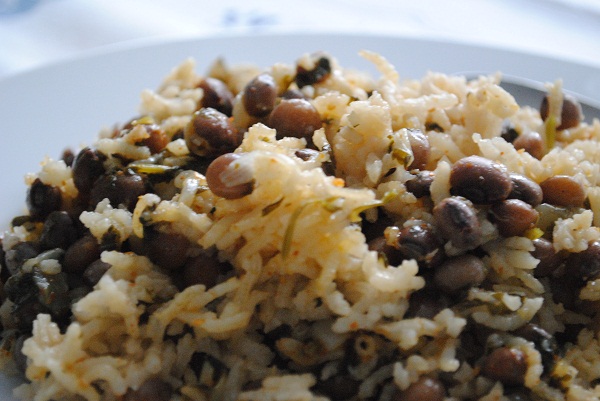
I grew up eating arroz con gandules, that quintessential rice dish that every Puerto Rican family has their own version of making. Most of the time it…
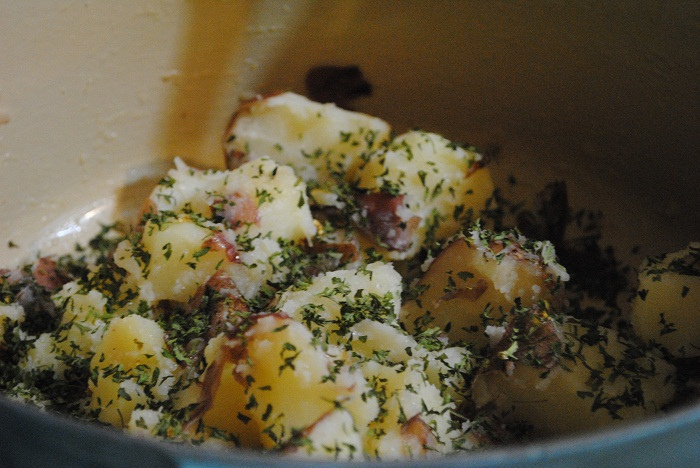
My mom used to make these potatoes often when I was growing up. I’m not quite sure where she got the recipe, but she used…

A day in the life of recipe testing goes a lot like this: Creamy Pasta with Roasted Vegetables
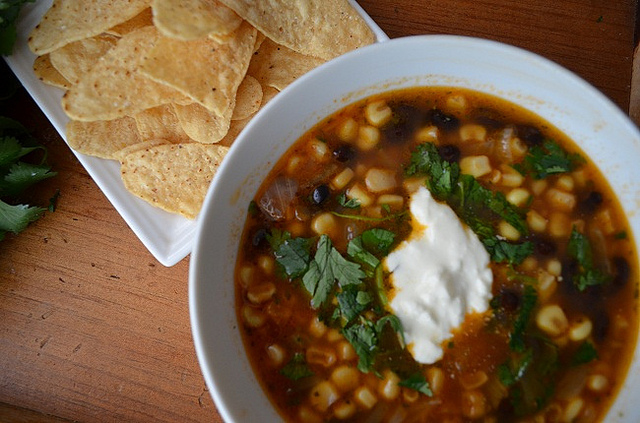
If you can imagine having soup in the summer time, this Mexican Black Bean & Corn Soup is one that doesn’t heat up the kitchen, uses…

Summer food is equivalent to grilling, right? Well, in the intense heat we’re feeling here in the Midwest I’m not sure everyone is so excited…
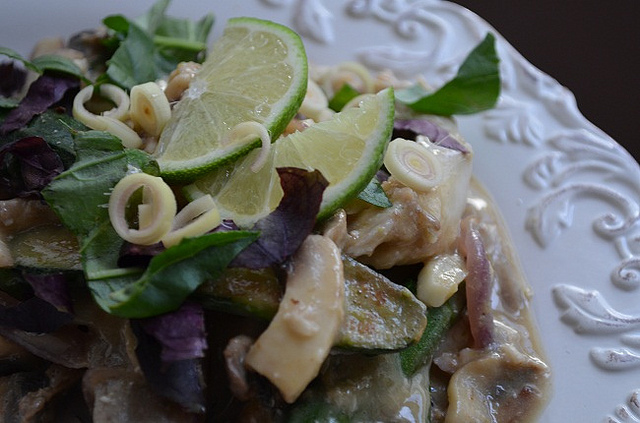
Unless you have an amazing Asian store nearby that sells fresh ingredients from the East, it’s pretty hard to find things like lemongrass, real coconut…

The season in between spring and summer is the time to make the best use of delicious veggies- spinach, baby zucchini, fingerling potatoes, and white button…
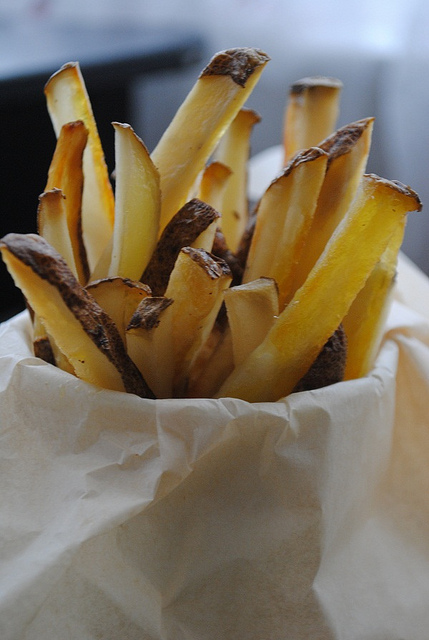
This week’s healthy eating tips are about baking food that you normally would fry and to make things from scratch whenever possible.
It’s true, I travel with food. It’s not because I’m a food blogger, a halal foodie or averse to outside food. It’s because I like…
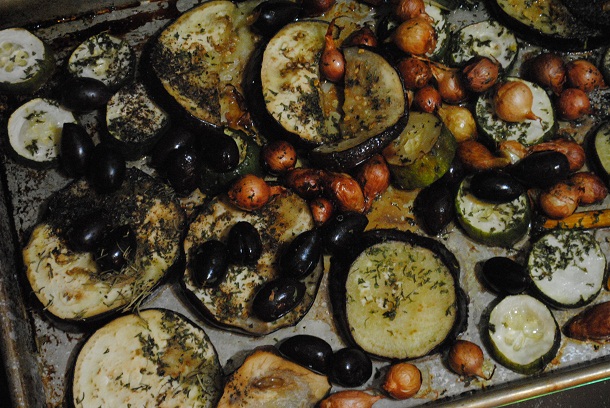
I can’t think of a more perfect fast food dish that’s homemade and healthy. Roasted vegetables warm up the house in the winter while warming…

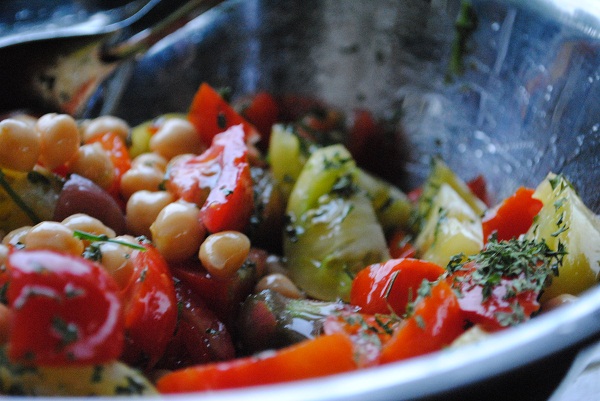
If there’s ever one recipe that will help create even more recipes, it’s those for roasted vegetables. I absolutely love to fire up the oven…

I didn’t intentionally set out to make pink pasta; it just happened as a result of my love affair with seasonal produce like swiss chard…
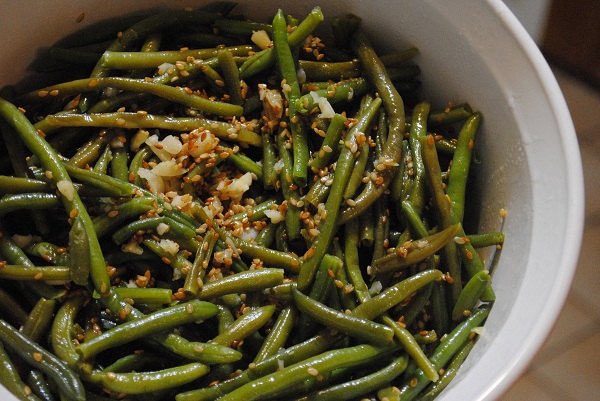
French green beans are one of my favorite side dishes. They’re light, go well with most foods and make me feel content that I’m getting…
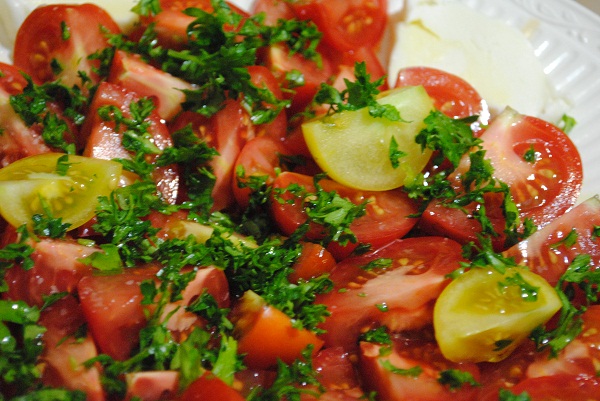
I wanted to share this recipe with you before it gets too late to use any of those summer tomatoes around here in the Midwest.…
Caprese Salad is a somewhat Italian-American dish since it has increased so much in popularity in recent years. More and more people know what fresh mozzarella…
Everyone is talking about this year’s daily fasts in Ramadan being so long because sunset (the time when the fast is broken) will come a…
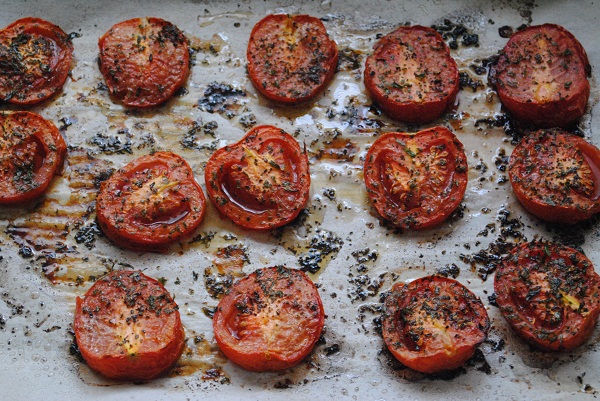
Tomatoes may not be summer-ready here in the Midwest, but there’s no shortage of beautiful ones in the grocery store, perhaps coming in from California.…
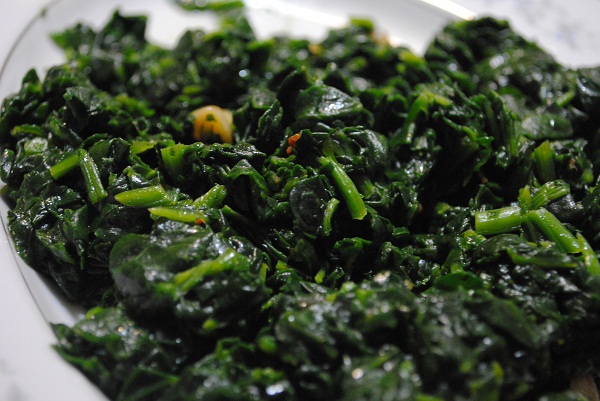
Spinach is that quintessential health food. We know it’s good for us, but how often do we really eat it fresh and lightly cooked? With…
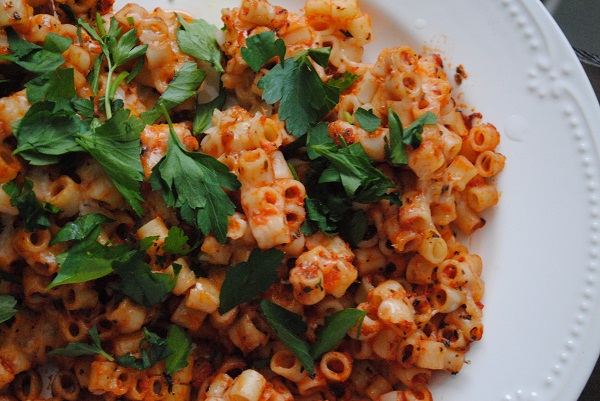
Pasta is such a quick, easy and filling dinner meal. This recipe only requires a few simple ingredients, but it’ll help you get a satisfying…
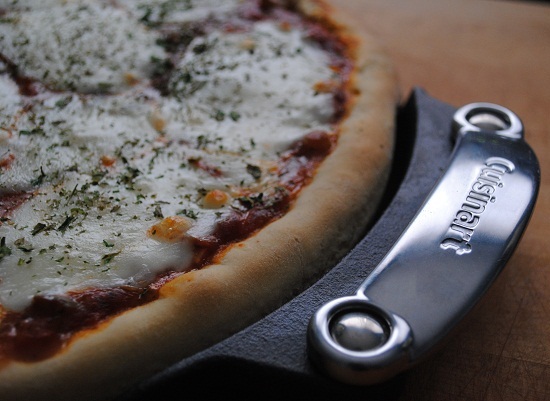
Homemade Pizza. It’s by far my #1 favorite food. Anything with cheese. Anything with bread. When you combine the two, you have my undivided attention.…
