Hand-Stitch These Lovely Vintage Floral Coasters
There’s a special place in my heart for vintage trinkets and all things handmade. Much of it has to do with the memories it holds.…
There’s a special place in my heart for vintage trinkets and all things handmade. Much of it has to do with the memories it holds.…
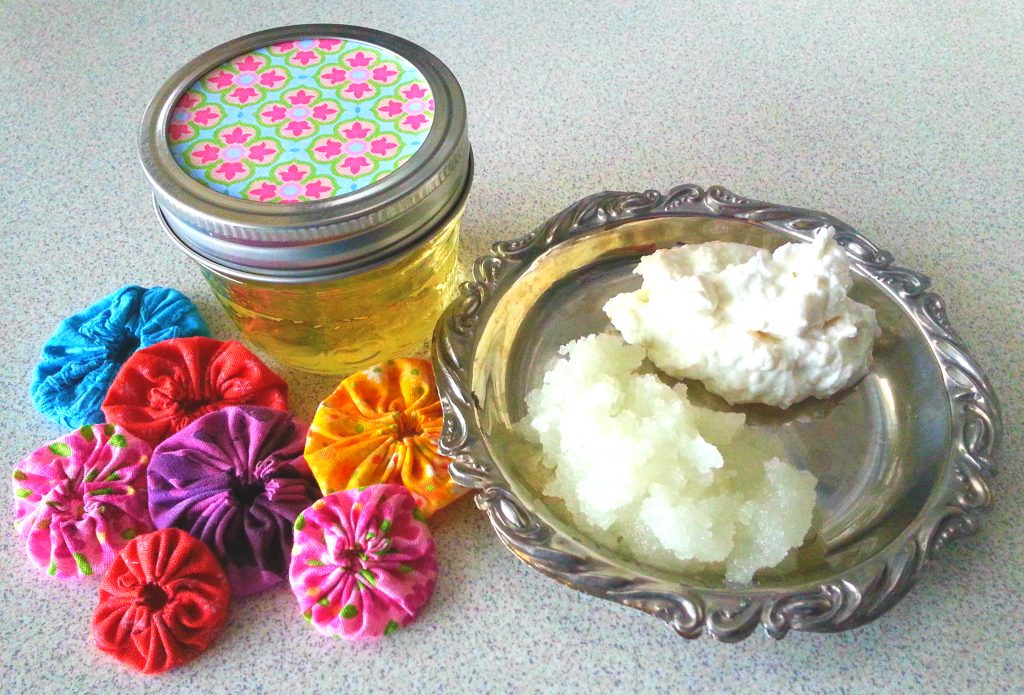
Sobia Hussain, owner of The Olive Tree Soap Company, wows us again with these wonderful recipes you will want to make at home just because…
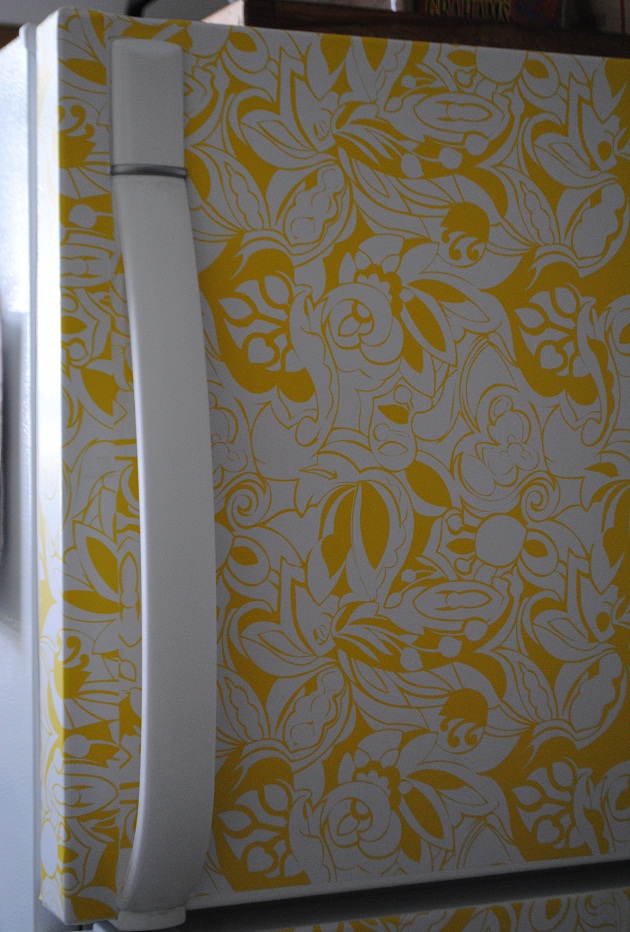
I finally had some free time on my hands to work on a few projects on my ‘someday’ list. Since moving recently, I really wanted…
