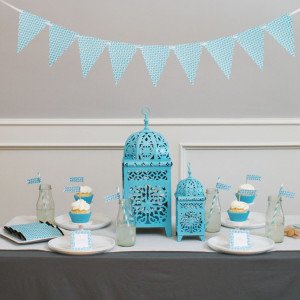
8 Tips for Creating A Festive Home This Ramadan
Ramadan is a special time of reflection as one deepens their self-control, spirituality, and compassion for those less fortunate. Take some time this year to…
Ramadan is a special time of reflection as one deepens their self-control, spirituality, and compassion for those less fortunate. Take some time this year to…
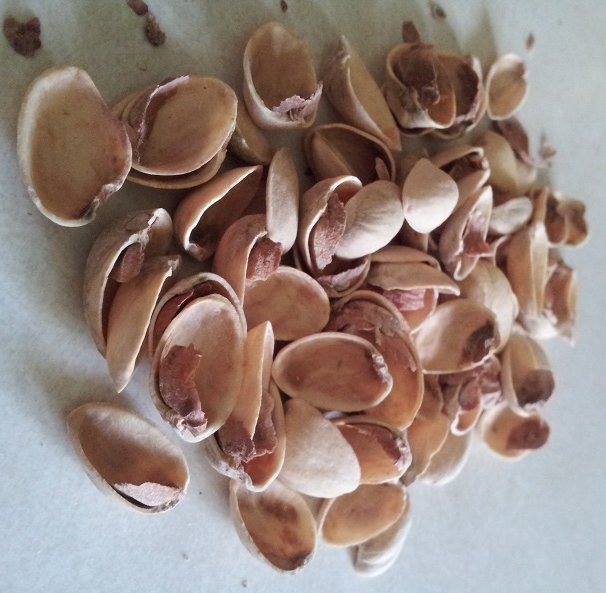
Once you’ve had your healthy dose of pistachios for the day, don’t throw out those precious shells! Here are a few ways you can re-use…
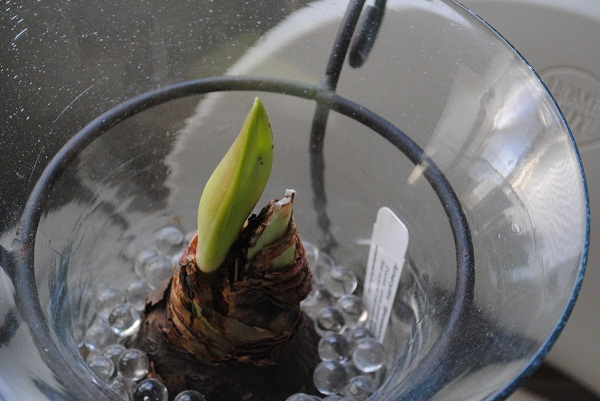
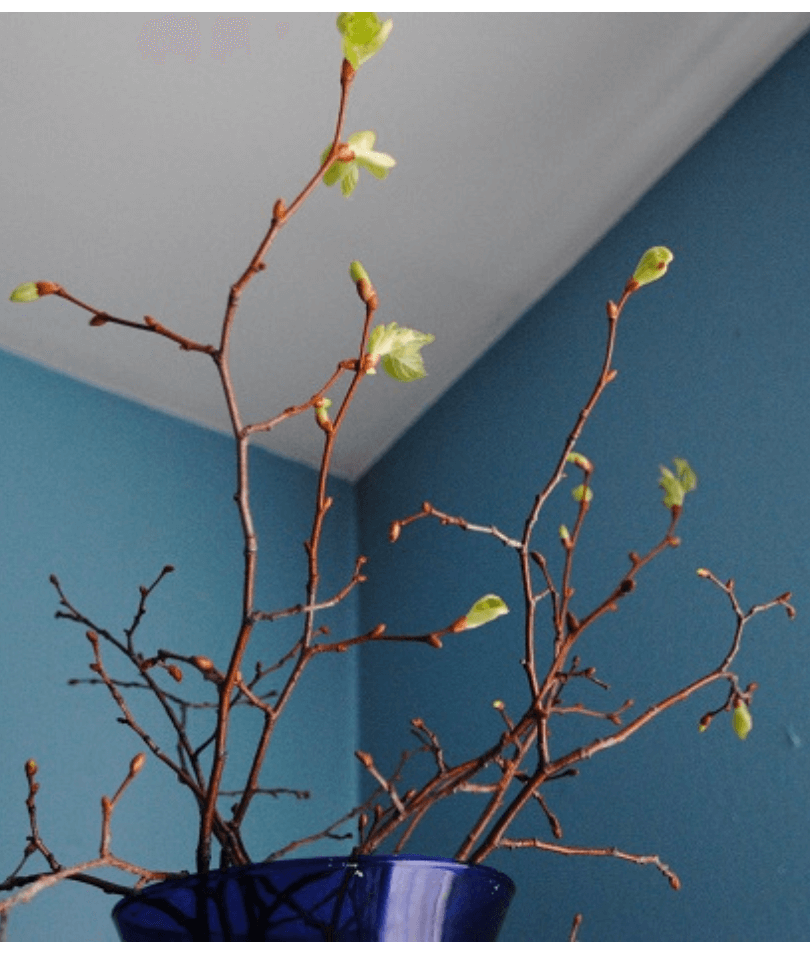
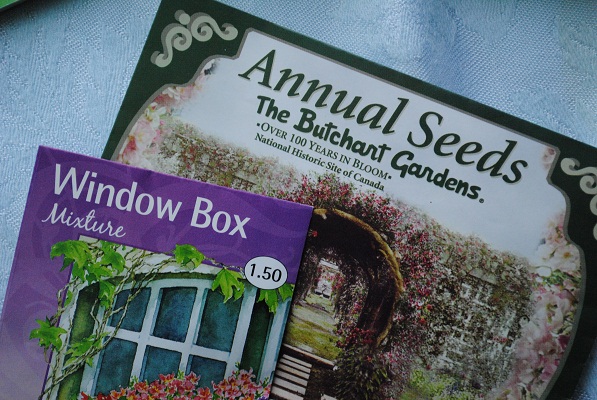
I just posted an article about how to force winter branches, which is probably the less common type of winter forcing of plants that is…
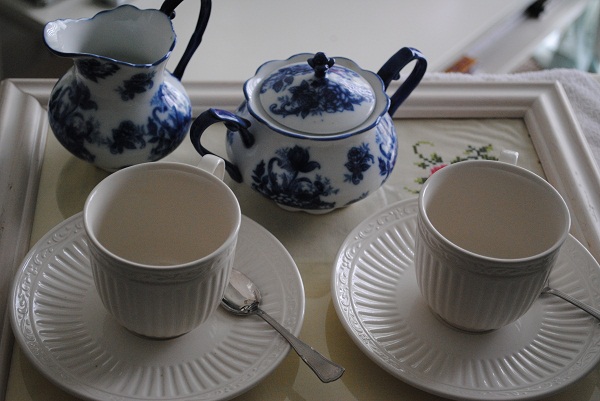
I absolutely love bringing color indoors all year long, but in the winter it seems like more of a necessity than anything- to lift up…

Like much of the country recently, I’ve been glued to the television to find out every detail possible about Hurricane Sandy’s devastating effects on the…
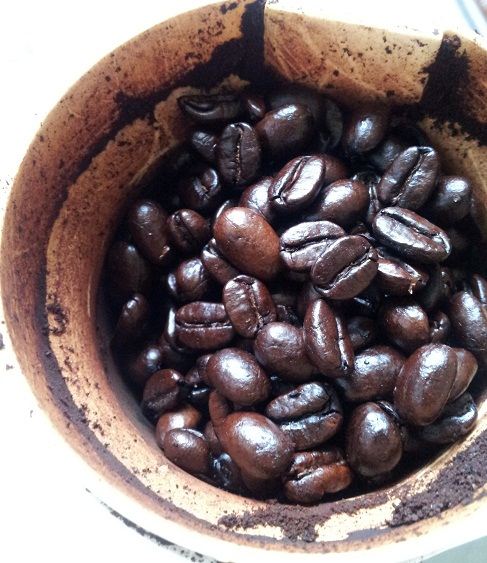
I love freshly ground coffee and since I do it myself without any type of grinder attachment to a coffee maker, it does take an…

Saima Nasim runs the beautiful design blog, Azzure. Have you seen it? It caught my attention because of her gorgeous photos and smart suggestions for…

I asked Creative Designer Kung Pik Liu over at Sakina Design to share something special with us this Ramadan to make our homes feel festive,…

Nearly ten years ago when I began speaking at local libraries, churches and schools about Islam, Muslims, Ramadan, and/or ‘Eid, I would carry a bag…

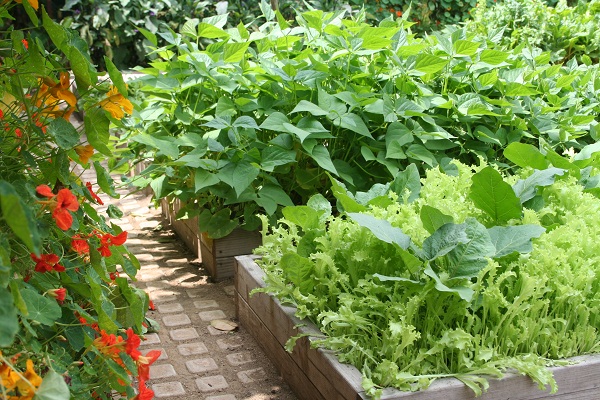
I think I know why people garden. It’s not just because they have more time than the rest of the population; it’s because they finally…
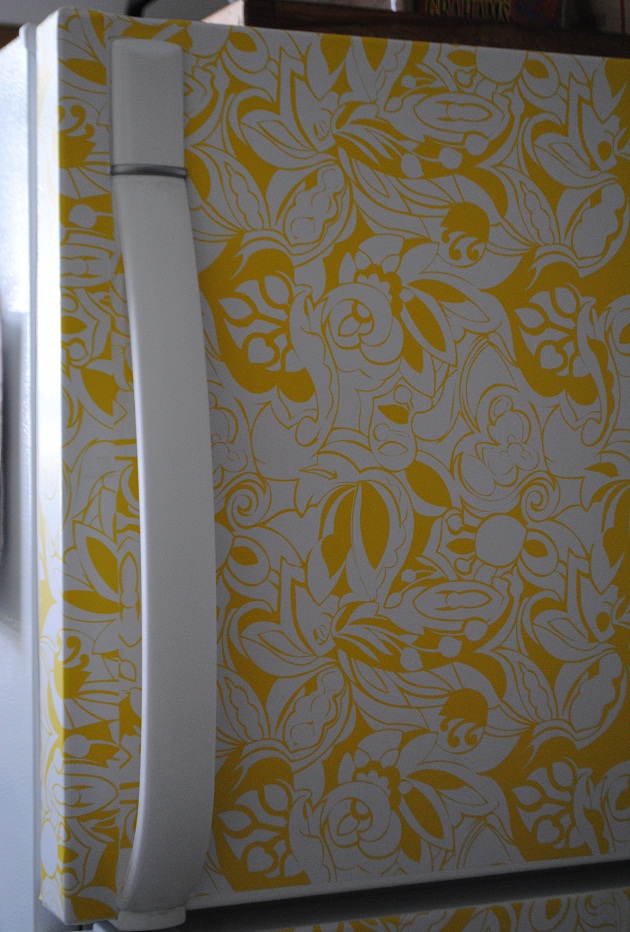
I finally had some free time on my hands to work on a few projects on my ‘someday’ list. Since moving recently, I really wanted…
Yesterday I aired a segment on my blog talk radio program called Organic Edible Gardening, where I gave 30 minutes of tips on what you…
Although I haven’t talked about it much on this blog, I really am a lover of home made crafts, especially those where I can re-purpose things I…
Here in the Midwest, much like other parts of the country we’re experiencing a complete and utter freeze. It’s incredibly hard to imagine colorful flowers,…
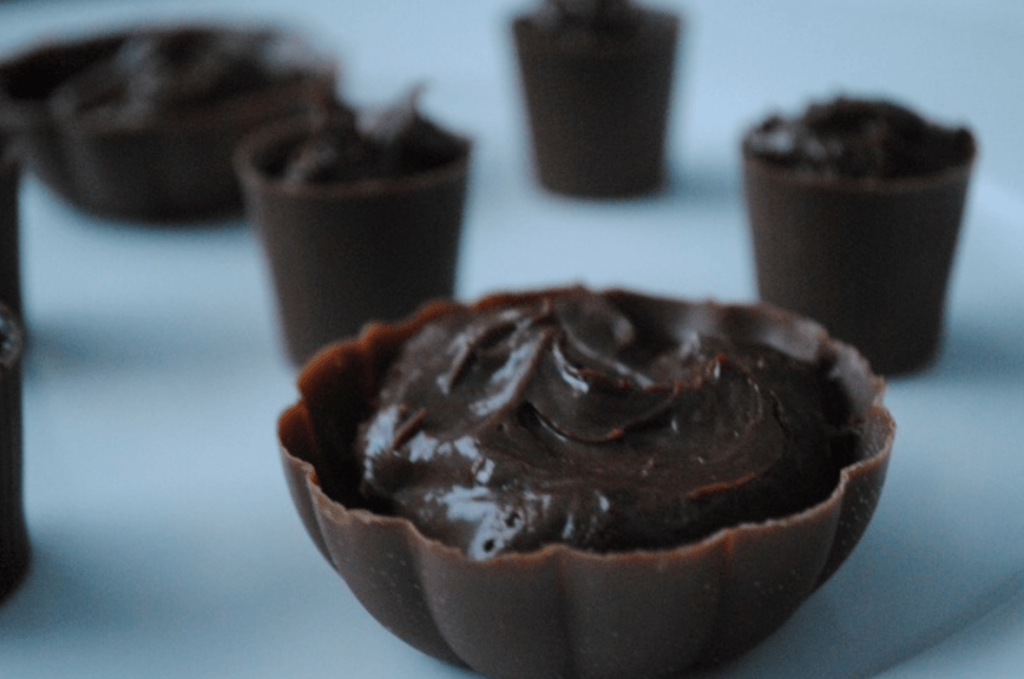
I had the great fortune of being able to do a little baking for a local school bazaar this past weekend. Teachers were raising money…
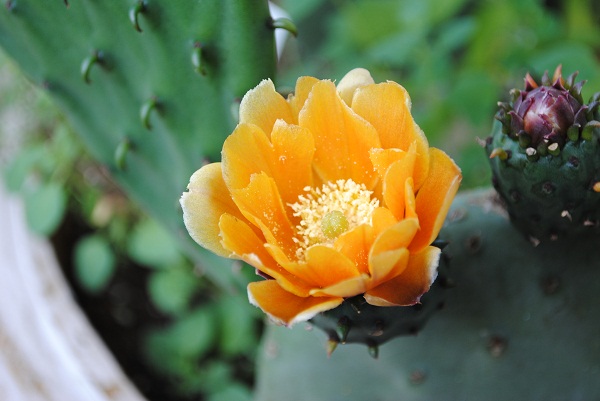
I’m not only amazed by the fact that my cactus is growing and thriving here in the Midwest, but now it’s flowering! This is…

Many of my family members and members of our Facebook page have been asking me to send pictures of my balcony garden, so I’ve finallly…


I’ve had so much success in my kitchen with this tried and true method of removing food after frying and cooking in other ways that…
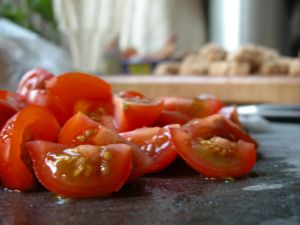
Just as soon as spring approached, we began contemplating what to plant in our summer garden. The consensus was that we wanted plenty of homemade…
