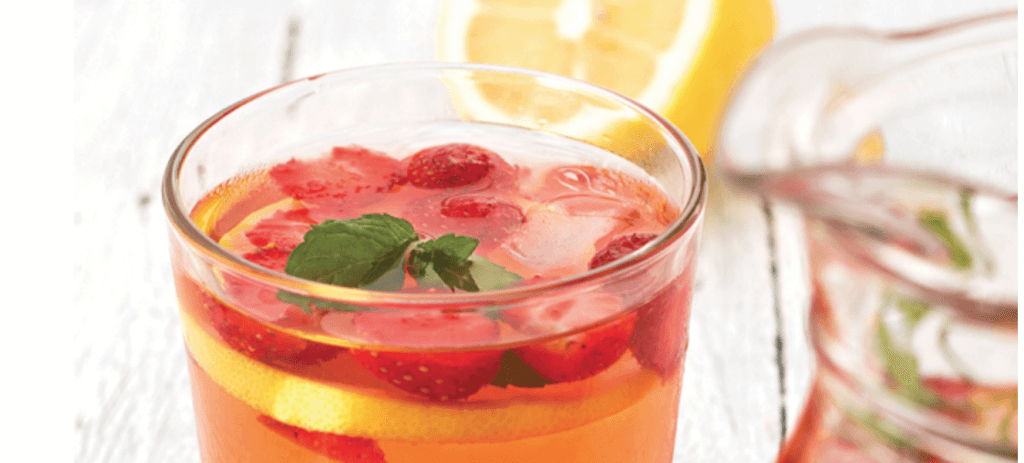
Homemade Strawberry Lemonade
In the heat of the summer, sometimes we crave hydration more than food, especially when fasting during a summer time Ramadan. That’s why I love…
In the heat of the summer, sometimes we crave hydration more than food, especially when fasting during a summer time Ramadan. That’s why I love…
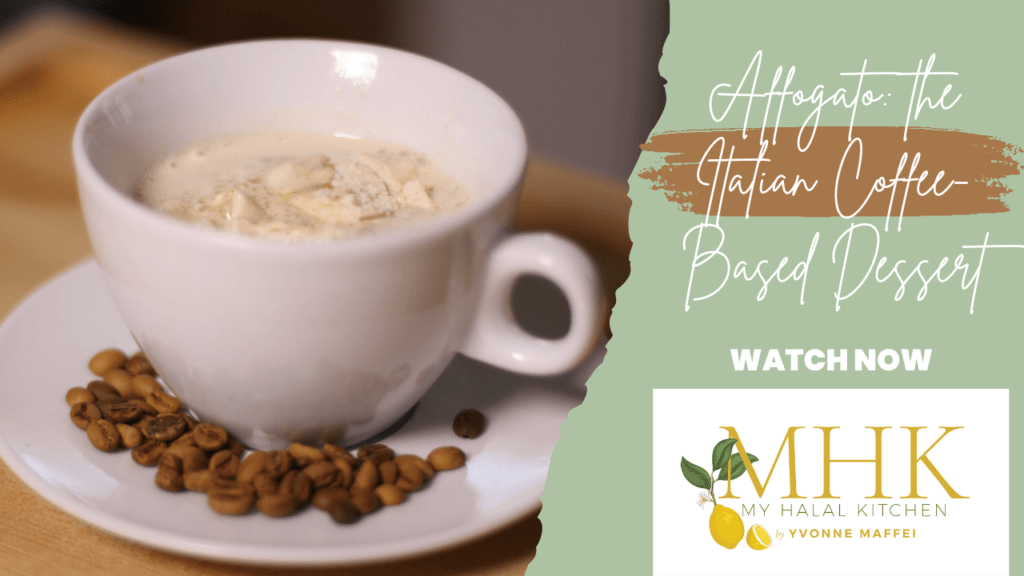
If you love coffee and ice cream, this quick dessert recipe is for you. Affogato is an Italian word for the super delicious coffee drink…
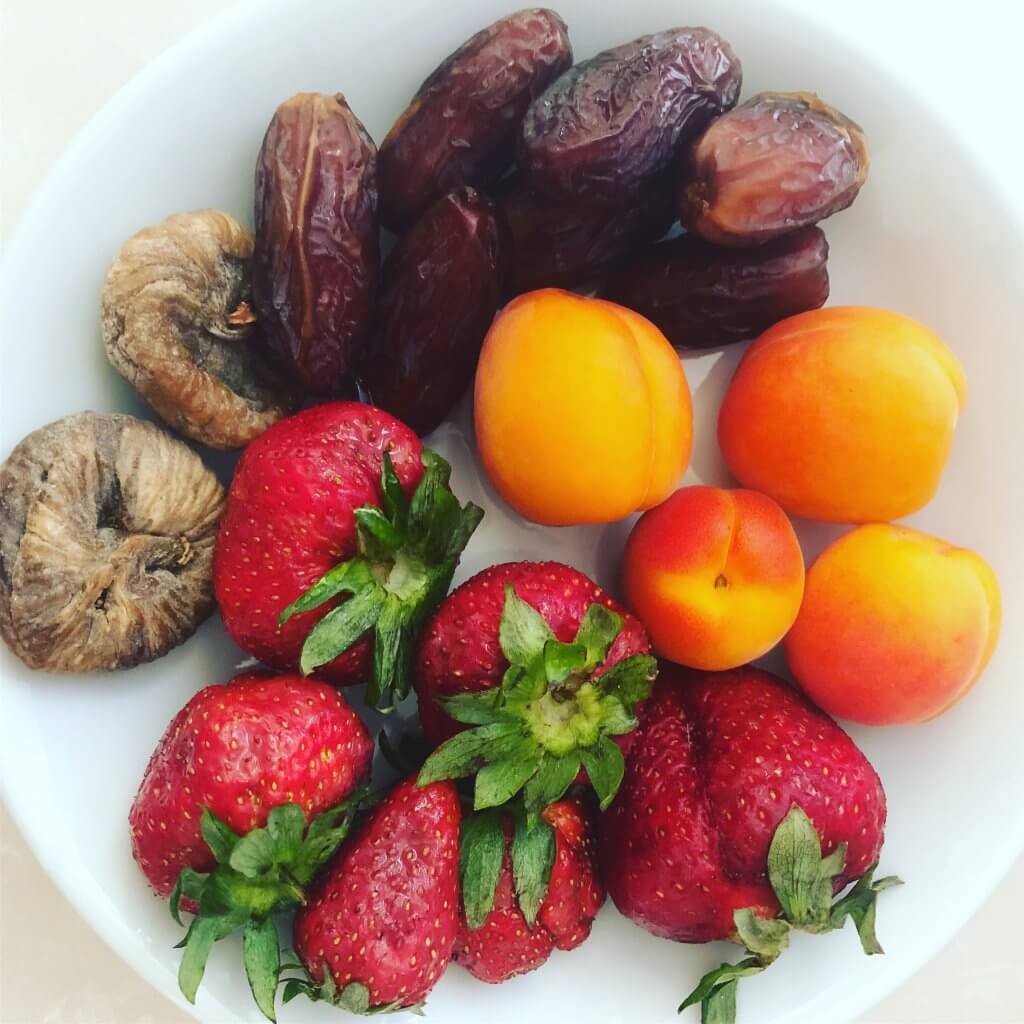
Because it’s a Sunnah to break one’s fast with dates (something that Prophet Muhammed, peace be upon him, used to do), almost all Muslims will follow suit out…
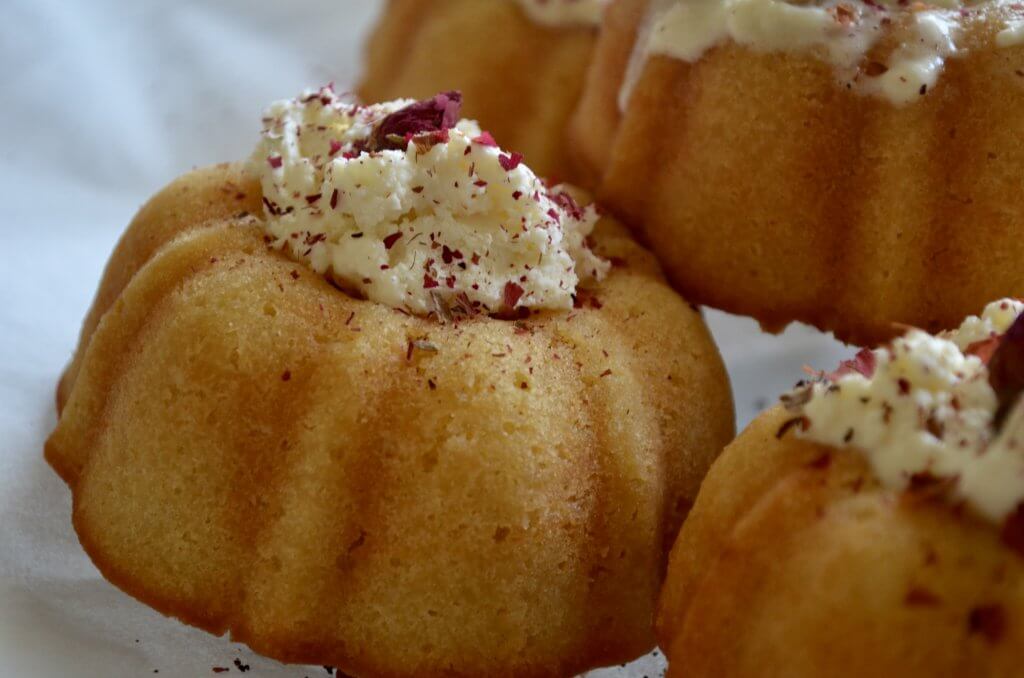
My all-time favorite desserts are the simplest ones. I am not a fan of spending a lot of time making sweet things, only because I…
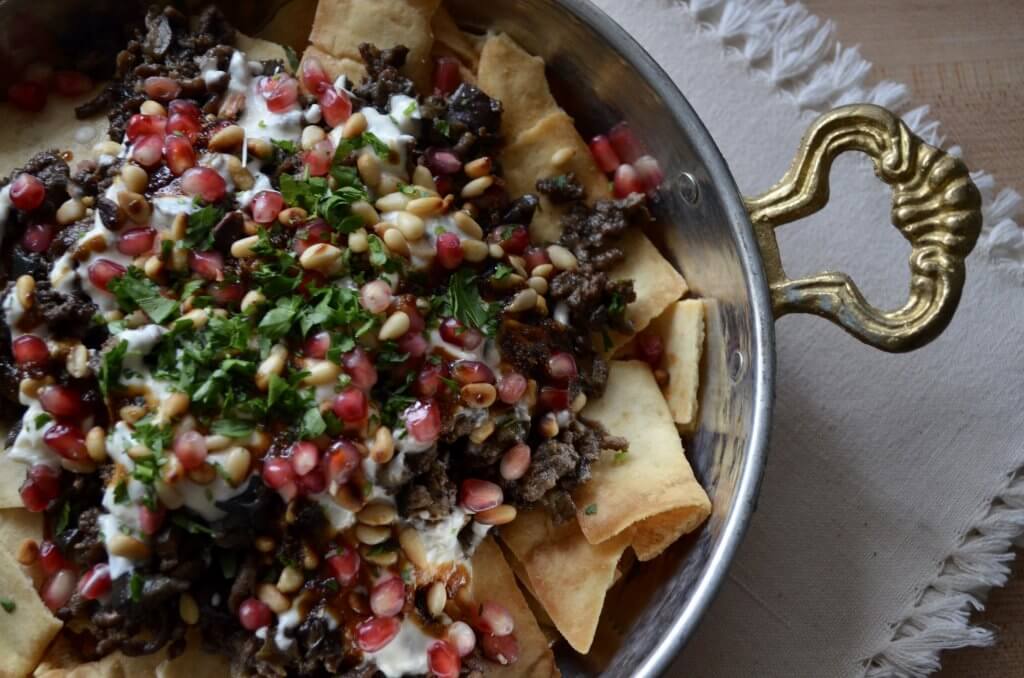
If you don’t know me by now, one thing you should know is that I love all things Mediterranean. The food, the sunshine, the lifestyle…the…
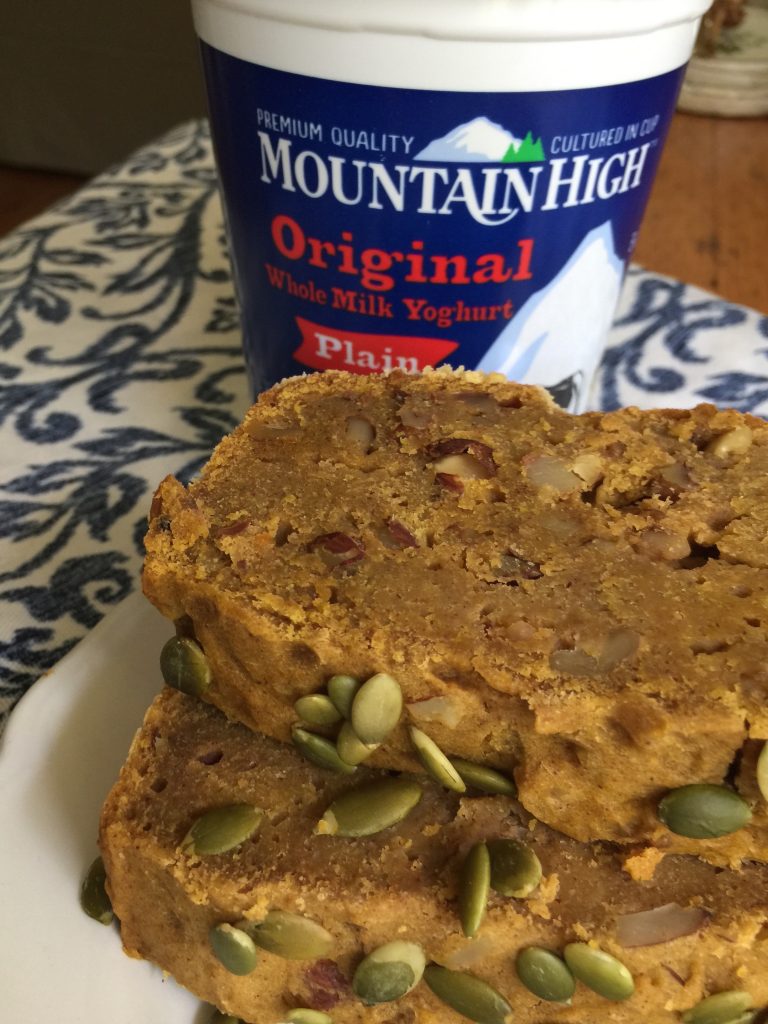
I’m a huge fan of yogurt for a whole host of reasons- and not just eating a small cup of flavored yogurt a day, but…
Winter days are quite the challenge here in Chicago, so I’m always trying to find ways to warm up with food. I haven’t had a…
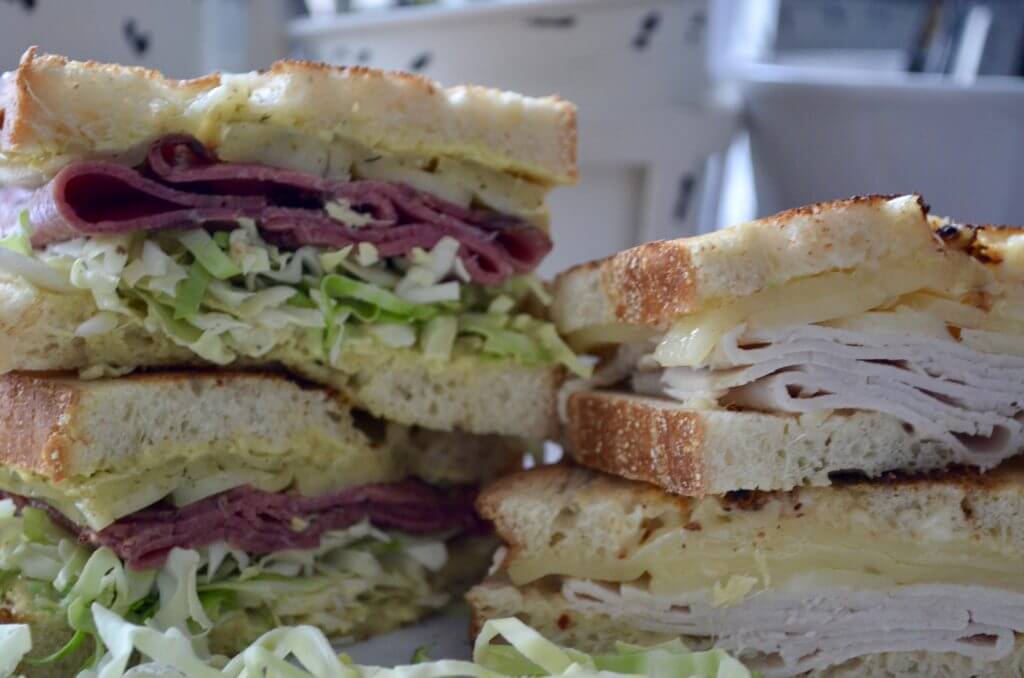
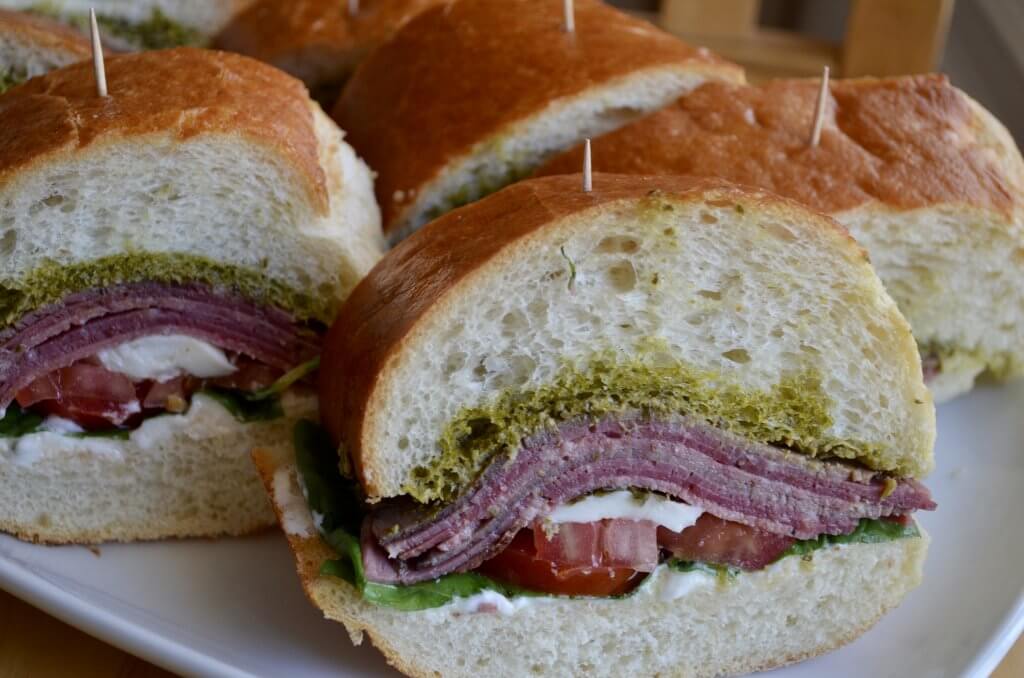
One of the first types of food creations I ever made as a young cook were sandwiches. I was a bit of a latch-key kid…
https://billydoemeats.com/?sca_ref=612140.OUBMoNQMp3As we begin to enter the New Year soon, wouldn’t it be nice to actually maintain a goal of eating healthier by cooking more at…
Is it just me or are there cookies everywhere, right now? Not to mention cakes, chocolates, candy canes and the like. Even if one doesn’t…
I love Mediterranean & Aegean dishes, as they’re known for their use of healthy ingredients, but many dishes just remind me specifically of the sun-soaked…
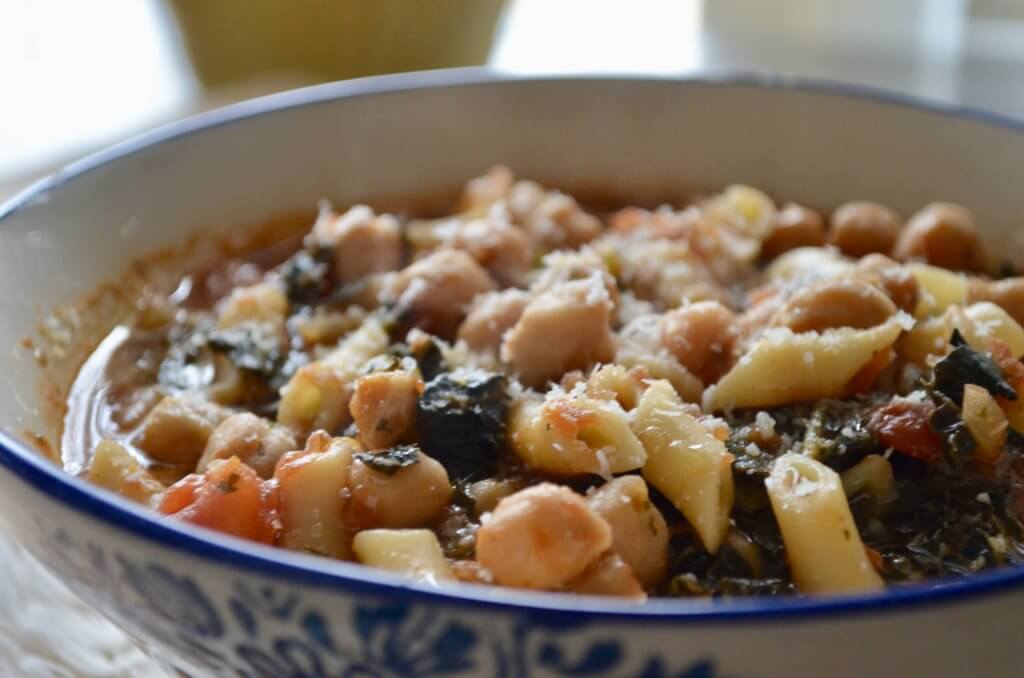
My passion for soup intensifies every time I come up with a new way to blend different veggies. Since I’m usually always stirring in some…

One of my most popular Instagram posts in recent months was when I posted about how I make my own almond milk. It has changed…
If you’ve watched my Facebook Live video series with Dr. Madiha Saeed, you’ll probably know a little bit about this recipe and why it’s appearing…
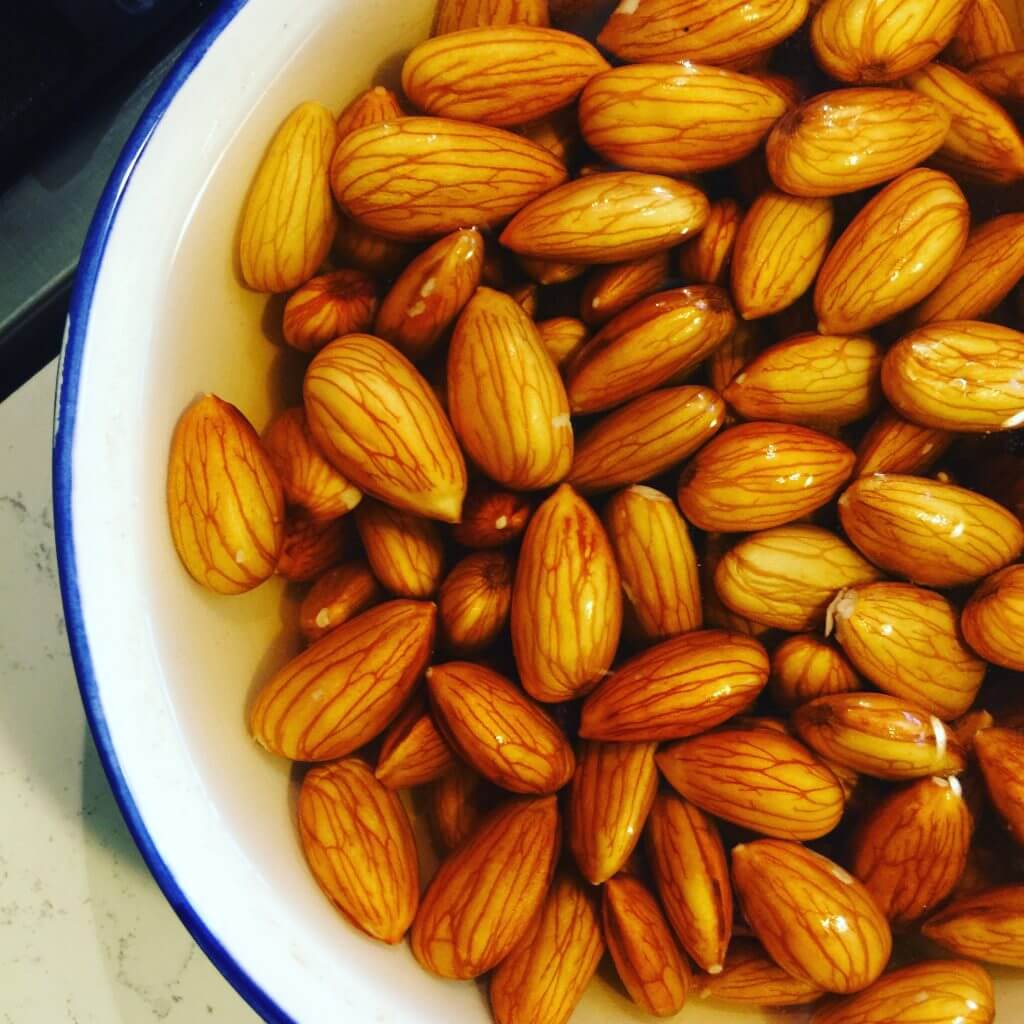
Recently I posted a series of photos on Instagram when I was beginning to make almond milk from scratch at home. The last couple of…
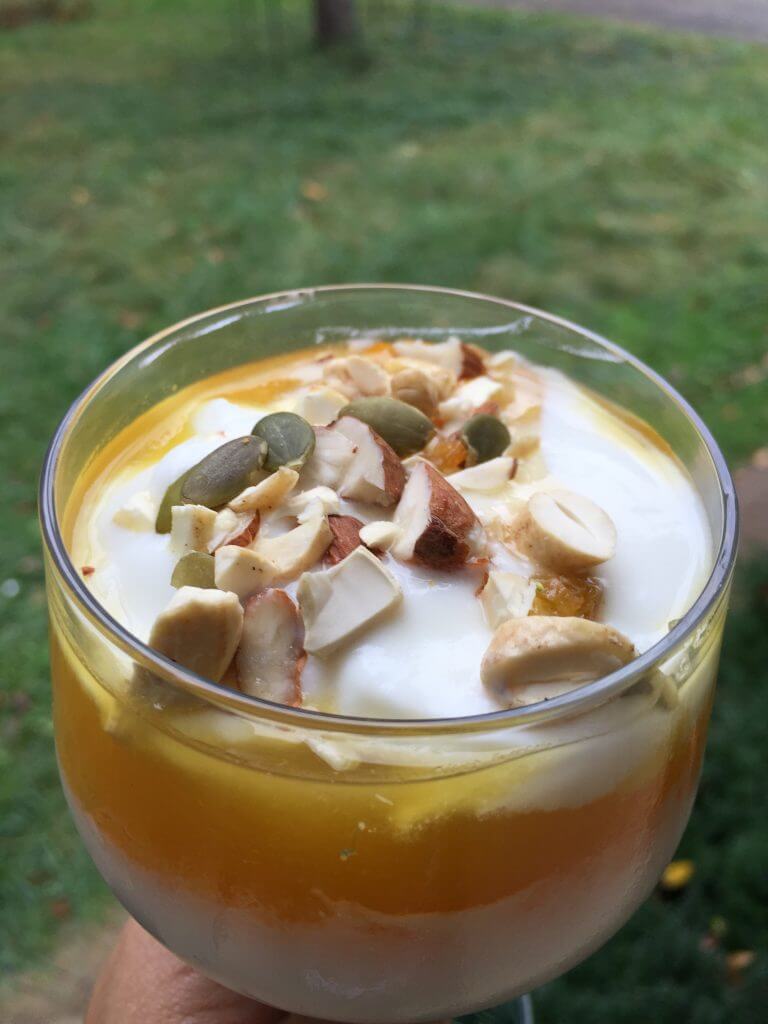
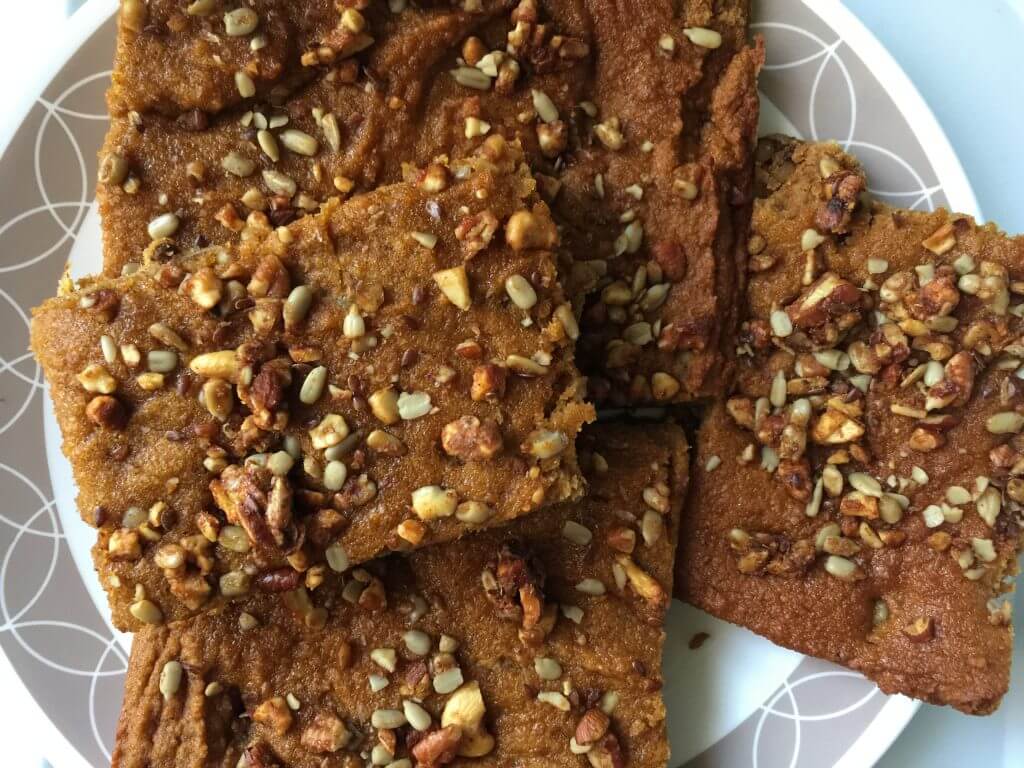
While parfaits are often seen on dessert tables, the use of pumpkin is hardly ever a staple found inside- at least not from what I’ve…
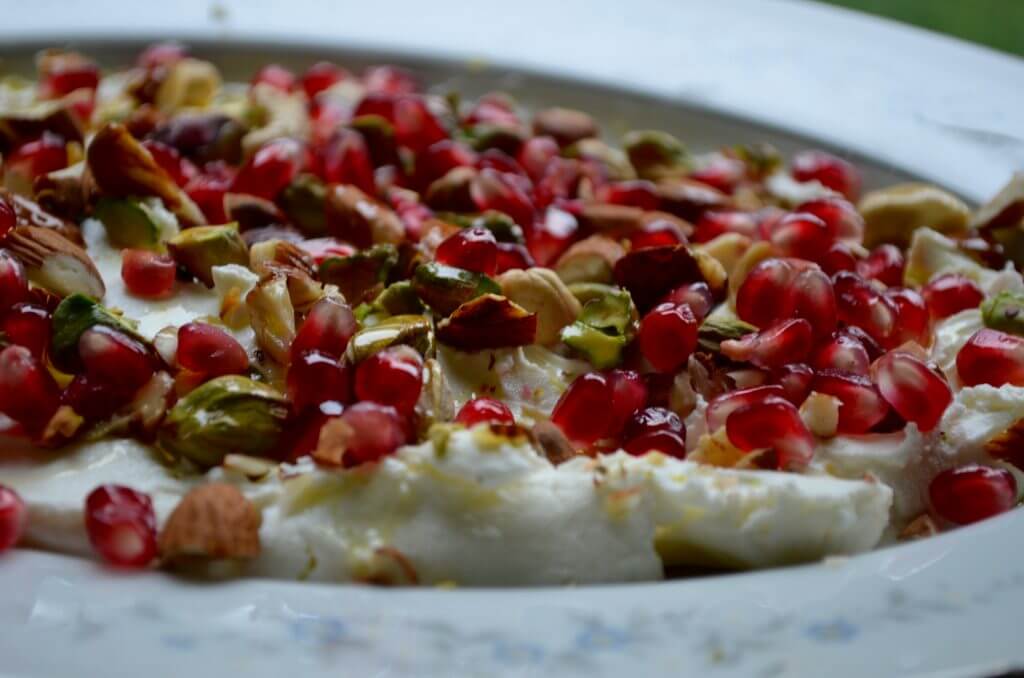
If you love labneh, or yogurt spread, as much as I do then you’ll really appreciate this recipe because it takes the simplified version up…

Lately I’ve been craving Asian food, or at least Asian-inspired dishes. I think it happens when my body is really lacking in certain nutrients and…
My favorite season of the year is Fall/Autumn. I look forward to wearing cozy sweaters, sitting around a fire outside and taking walks in nature…
Eid ul Adha is around the corner again! Where did the time go? Wasn’t it just Ramadan, then Eid ul Fitr? Wow, time has flown and…
