‘Eid Cupcakes with Vanilla Orange Mascarpone Frosting
It’s hard to believe that Ramadan is over and we’re now celebrating ‘Eid-ul-Fitr, the three-day long holiday that Muslims all over the world will be celebrating.…

It’s hard to believe that Ramadan is over and we’re now celebrating ‘Eid-ul-Fitr, the three-day long holiday that Muslims all over the world will be celebrating.…
The last ten days of Ramadan are upon us and it’s a special time for Muslims to really try as hard as possible to dedicate…
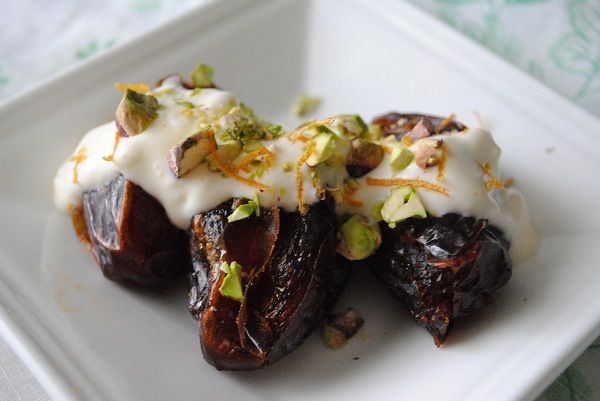
Dates are also the perfect baking fruit- they freeze well, they don’t make your baking products soggy and they add just the right about of…

A terrine is something that has been baked or prepared in a loaf pan. Most commonly known for meat dishes, terrines (a French term) can…
I’m not the biggest football fan in the world. Actually, I really don’t understand the rules of the game. I know what a touchdown and…

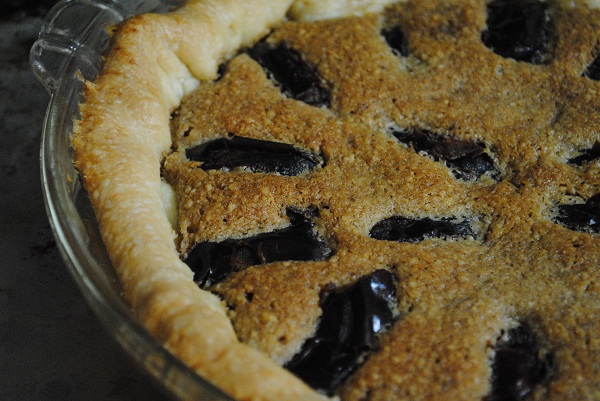
I could eat Pumpkin Pie any time of year. It just so happens that because pumpkins are seasonal in the fall here in the Midwest,…
‘Eid Mubarak to all of you and your families! What are you doing to celebrate ‘Eid? What have you given as gifts to your family,…
Muslims all over the world are embarking on another blessed month of fasting (Ramadan) from food and drink (pre-dawn to sunset) in order to re-focus…

If you live in Chicago, Los Angeles, anywhere in Mexico or near a large Mexican population you’ve probably heard of paletas. If you haven’t heard,…
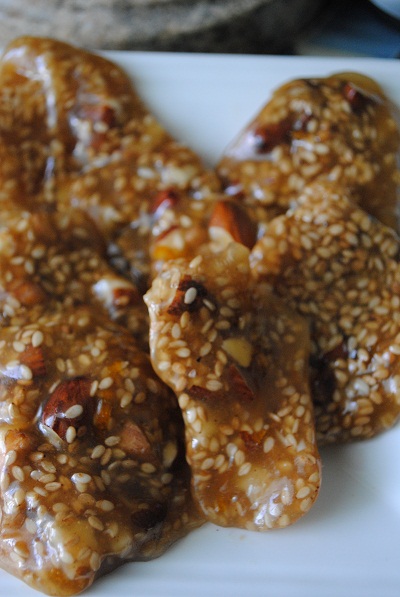
Though I’m not particularly a fan of candy, I do love anything with sesames seeds or honey. Additionally, it’s a common traditonal sweet in both Italian and Middle…
Have you heard about all of the wild things they put in good old fashioned {commercial} brands of yogurt? Some contain high fructose corn syrup;…

Honey is one of my absolute favorite food and health items. I don’t consider it as just a food, but also a medicine and a beauty…

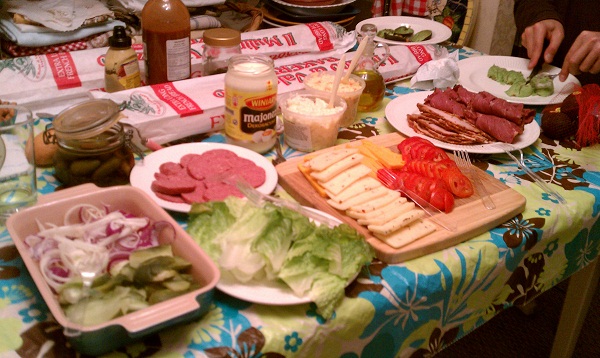
With so much produce left over from the cooking demonstrations I conducted at the ISNA convention over 4th of July weekend, I had to come…
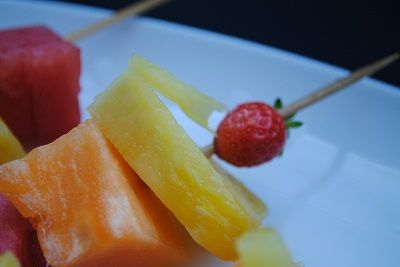
There is nothing more refreshing to me on a hut summer day than cold, cold watermelon. Pineapple is great, too. So are melons! I just…

When you live in a big city like I do, it doesn’t mean you always get a chance to see the touristy spots like visitors…
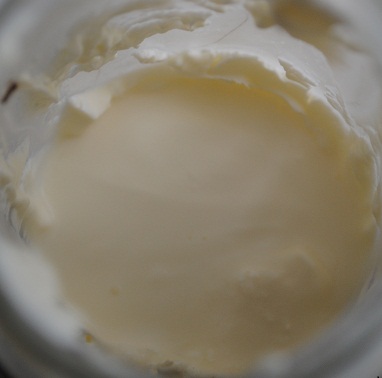
Those of you who have been reading this blog for a while probably already know that I have a pure affinity for crème frâiche, or…

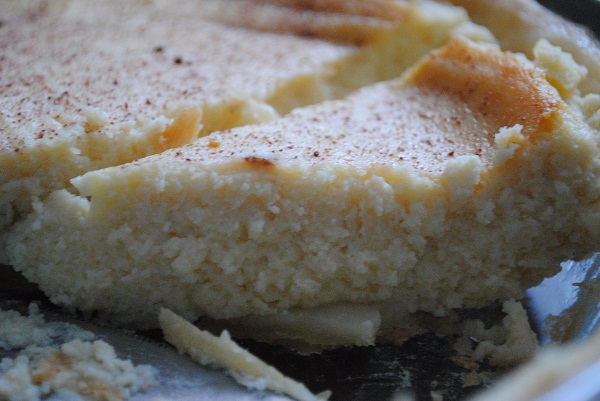
This week I’ve been testing recipes for good old-fashioned (halal) southern food. It’s a fun and tasty job, but not always so easy. This cake, for example, was…

As promised, I’ve put together the recipe for the Chocolate Banana Bread I demonstrated at last week’s Baking Demo in Naperville, IL. At the demo, I discussed baking tips…
I offered samples of these muffins to those who attended the My Halal Kitchen Baking Demo for a Sunday school just a couple of days ago.…

Many visitors to Manhattan miss out on the great opportunity to visit nearby Hoboken, NJ. I have done the same on past trips to…
